Separate the systems before choosing a goal
Old God alignment, dangerous exploration, and defeating a named enemy are related parts of Elderfield, but they are not the same objective. The official achievement list distinguishes aligning with an Old God from defeating emissaries. Do not assume that accepting an alignment means you have completed a combat task, or that defeating a creature automatically completes every associated requirement. Read the current journal and the exact achievement wording before deciding which activity should come next.
Choose one goal for the next session. You might want to understand a shrine, advance the Stone Tower task, obtain a useful equipment upgrade, or prepare for a specific named encounter. Each goal needs different supplies and a different stopping point. A route becomes wasteful when you mix all of them without checking prerequisites. You can spend a long time collecting materials for a battle that remains inaccessible because a conversation or task stage has not been completed.
This guide deliberately avoids an invented universal order for every Old God. The sources establish systems and task milestones more clearly than they establish one optimal release-build route for all players. Use the sequence your journal presents, investigate the requirements you can currently satisfy, and postpone optional danger when the supporting resources are not ready. A clear local objective is more useful than a confident endgame itinerary built from incomplete evidence.
Start the Stone Tower task at the door
The long-term task reference says that examining the large stone tower door near the farm starts the Stone Tower task before speaking with Professor Dayton. That gives you a concrete first action: inspect the entrance and read what the journal records. If you have wandered town looking for the right conversation without triggering the task, return to the door. Starting the task and opening the door are separate stages, so do not wait until you believe the seal is already weak enough.
The same reference connects Professor Dayton with understanding the entrance. Follow the journal to the conversation and return to inspect the markings when directed. This is a good example of why repeated interaction can matter after a task update. An object you examined earlier may now be relevant in a different way. Check the current objective rather than relying on the fact that you already clicked the door once during an earlier exploration session.
Avoid turning this into a guessing game with expensive items. If the objective asks you to learn about the tower, a conversation is the next useful action. If it asks you to inspect markings, inspect them. Only make an offering or material commitment when the game presents that stage. Task order protects your resources by telling you which problem you are actually solving, and it prevents random experimentation from replacing an available explanation.
Let ordinary farm progress support the seal
The tower task reference describes a counter on the door and links weakening the seal with growing crops and raising animals. That means farm progress has a purpose beyond immediate sales. Read the counter, continue the relevant routine, and check it again after meaningful progress. You do not need to abandon the rest of the game and speculate about an undocumented instant unlock. The visible counter is a better guide than a fixed number copied from an unverified page.
Use the waiting period productively. Improve the consistency of your farm, replenish combat food, complete accessible workshop tasks, and learn the actions you expect to use in later battles. These activities make sense even if the exact remaining seal requirement differs from another player's experience. The best preparation serves more than one purpose: crops contribute to progression while also supporting an economy that can fund equipment and supplies.
Do not assume that every crop or animal action contributes in an identical way unless the current prompt explains it. Observe the counter and follow the wording. If progress appears absent, compare the state before and after a clear qualifying action rather than trying several unrelated activities at once. A narrow observation makes it easier to tell whether you misunderstood the requirement or whether a task-state issue needs further investigation.
Follow the tower's later journal stages
The documented tower chain continues through investigating the Shrine of Xxarteck, asking Dayton about markings, offering crops at a later stage, examining further passages, and understanding a giant keyhole. The practical lesson is to alternate exploration with interpretation. When the journal directs you back to town, follow that instruction before searching every room again. A return conversation can be the missing step between finding an object and knowing what to do with it.
Keep notes in the game's journal context rather than reducing the tower to a single item hunt. Identify the stage currently active, the object or person named, and the action requested. If you have an item that seems relevant but the interaction does not accept it, check whether the preceding conversation has happened. Possession alone is not always the entire requirement in a staged quest. The source provides the sequence, while the live journal tells you which step applies to your save.
This guide does not claim a specific crop quantity or key recipe that the consulted source did not verify. When the game presents a counter or ingredient requirement, use it directly. That approach prevents an old demo number from wasting a harvest. It also lets you keep useful surplus for other tasks instead of selling everything after meeting an assumed threshold that might not match the current stage.
Plan an exploration trip separately from a boss attempt
An exploration trip is for identifying paths, reading interactions, collecting accessible materials, and learning ordinary encounters. A boss attempt is for completing a known dangerous objective with appropriate resources. Combining them can leave you arriving at the important fight with depleted magic and a bag filled for a different purpose. Once you discover a major encounter, consider returning to prepare specifically for it rather than pressing forward only because the door is now open.
On an exploration trip, carry flexible supplies and a loadout that tolerates uncertainty. Favor reliable ordinary actions over a narrow sequence that assumes a single enemy type. Keep enough recovery to learn from an unexpected encounter. On a planned combat trip, use what you learned to choose the relevant element, defensive support, and resource budget. The distinction is a planning tool; it does not require any special in-game mode or website progress tracker.
Decide what would make the trip successful before leaving. Finding the next journal interaction, reaching a new safe landmark, or confirming a required material source can all count. A successful expedition does not have to end with a boss defeat. Clear objectives make it easier to return at the right moment, because you can recognize that useful progress has already been made instead of measuring every outing against the most distant possible goal.
Approach shrine choices by reading consequences
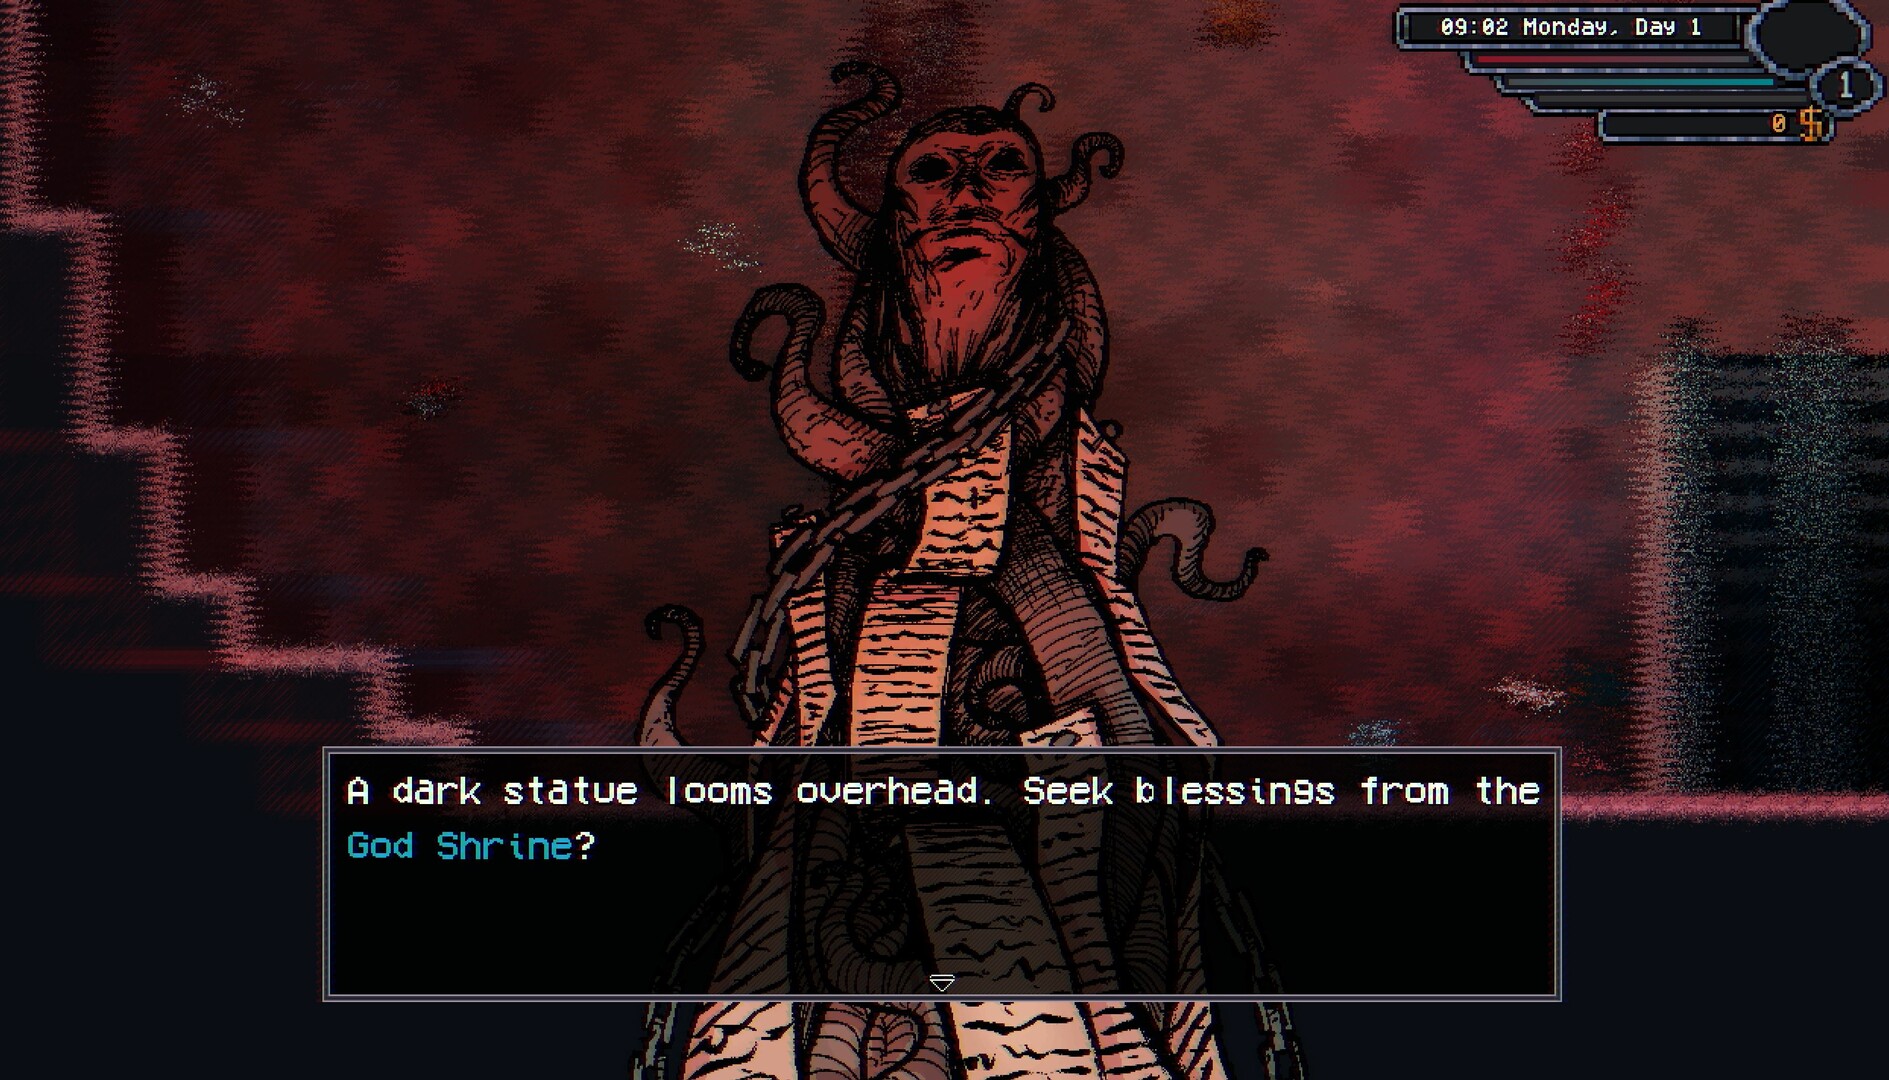
Shrine interactions can involve resources, alignments, or rewards, so read the prompt before confirming. Distinguish an ordinary repeatable action from wording that implies a lasting change. The wider equipment reference warns that some mysteries can demand permanent statistical sacrifices. That does not mean every shrine has the same cost; it means appearances are not enough to classify the interaction. Let the current text tell you what is being exchanged and what remains uncertain.
Compare the offered benefit with your immediate objective. A reward that looks interesting may be irrelevant to the build or task you are preparing. Spending scarce materials on it can delay the upgrade that would make a difficult encounter manageable. Keep a reserve for known requirements before funding speculative benefits. Curiosity is part of Elderfield, but it is easier to enjoy when an experiment does not consume everything needed for the next practical step.
If you want to explore alignments for completion, read the platform's current requirement and keep it separate from combat assumptions. The official list includes both an initial alignment objective and a broader alignment objective. It does not by itself establish the cost, cooldown, or optimal order for changing allegiance. Use the in-game interaction to confirm those details rather than borrowing a fixed schedule from a page that may describe a different build.
Prepare for named encounters without inventing phases
The achievement list names several emissaries and major enemies, but a name and an unlock condition are not a complete battle guide. Before a first attempt, prepare around the systems you can verify: reliable damage, enough recovery, usable abilities, and an understanding of your equipment's restrictions. During the fight, observe the actual sequence and status effects. Do not follow a supposed phase script unless it matches what the game is showing.
Treat the opening as an information-gathering period while maintaining survival. Identify the strongest incoming pressure, any supporting enemies, and the actions that change the opponent's behavior. Read the combat log if the result is unclear. If your damage is very low, inspect the element and equipment interaction before assuming that more repetition is the only answer. A different appropriate action can matter more than another attempt with the same ineffective plan.
After the attempt, choose the preparation task that addresses the observed problem. If supplies ran out, improve the budget. If an action was unavailable, inspect equipment and status restrictions. If the enemy was simply too dangerous for the present setup, return to accessible progression. This creates a useful loop between the farm, workshop, and dangerous areas, which is more productive than repeatedly treating a defeat as a demand to rush straight back.
Keep route costs visible
A dangerous area's cost includes the battles before the objective, not just the final encounter. If you use most of your recovery reaching the destination, the route is not yet a reliable boss route. Look for ways to simplify the approach, improve ordinary fight efficiency, or separate gathering from the attempt. Do not assume that every creature encountered on the way must be fought for the current objective; inspect the available path and the task's actual requirements.
Carry tools and task items for the route you intend to take, but avoid letting optional gathering consume all attention. A trip planned around a shrine conversation can become risky if you add every nearby mine or mystery. Reassess after each detour. The supplies you brought were chosen for an earlier plan, and a longer route needs a new budget. Previous distance travelled is not a reason to ignore the condition of the character now.
When you return, bank the useful progress and prepare the next specific step. Process the materials needed for an upgrade, read the new journal stage, and replenish what the trip consumed. That is how a difficult region becomes familiar. Each outing should leave either a completed objective, a stronger setup, or better information. If repeated outings produce none of those, change the question you are asking of the area.
Know what completion does and does not prove
An achievement confirms that its listed condition was met. It does not necessarily mean every optional room, relationship, or associated mystery is finished. After a major victory, read the journal and return to any named task giver. The tower reference explicitly ends with reporting the emissary's defeat to Dayton, so the post-battle conversation belongs to the documented progression. Do not leave a task unresolved merely because the dramatic encounter has ended.
Likewise, a difficult setting and an Old God are not interchangeable terms. Read difficulty-specific achievements separately and check their current wording before planning a completion run. A release-build achievement page may reveal that a particular clear has a setting requirement, but it does not automatically explain how mid-run setting changes are handled. When that distinction matters, verify it in the game or an official clarification before investing a long session.
The useful long-term approach is to keep the farm productive, use the journal as the route authority, and make deliberate trips into danger. You can explore the strange parts of Elderfield without pretending every uncertainty has already been solved. Concrete preparation and careful reading let you make progress now, while leaving unsupported lore theories and exact boss numbers out of decisions that cost real play time.
Prepare the return conversation as part of the route
Before a long tower trip, identify whom the journal currently expects you to speak with afterward. That makes the return to town purposeful. You can bring the relevant information back, complete the stage, and immediately see whether the next requirement is another investigation or a material commitment. Without this habit, a player can spend several sessions revisiting the same unexplained object while the next useful action is a conversation already named in the task.
Keep the return trip's supplies separate in your thinking from optional rewards found near the objective. A newly accessible side passage may be tempting, but the current trip has already earned useful progression once the required observation or victory is complete. Returning to interpret it can open a better-informed route later. This is particularly helpful when the area contains several systems whose prompts look similar but serve different tasks.
After the conversation, reread the updated objective before committing materials. A journal change is a new instruction, not merely confirmation that the previous trip happened. Follow its specific wording and you will avoid spending resources on a later stage that is not yet active.
Sources & further reading
Mechanics are compared across cited sources; older-build differences are stated in the articles.