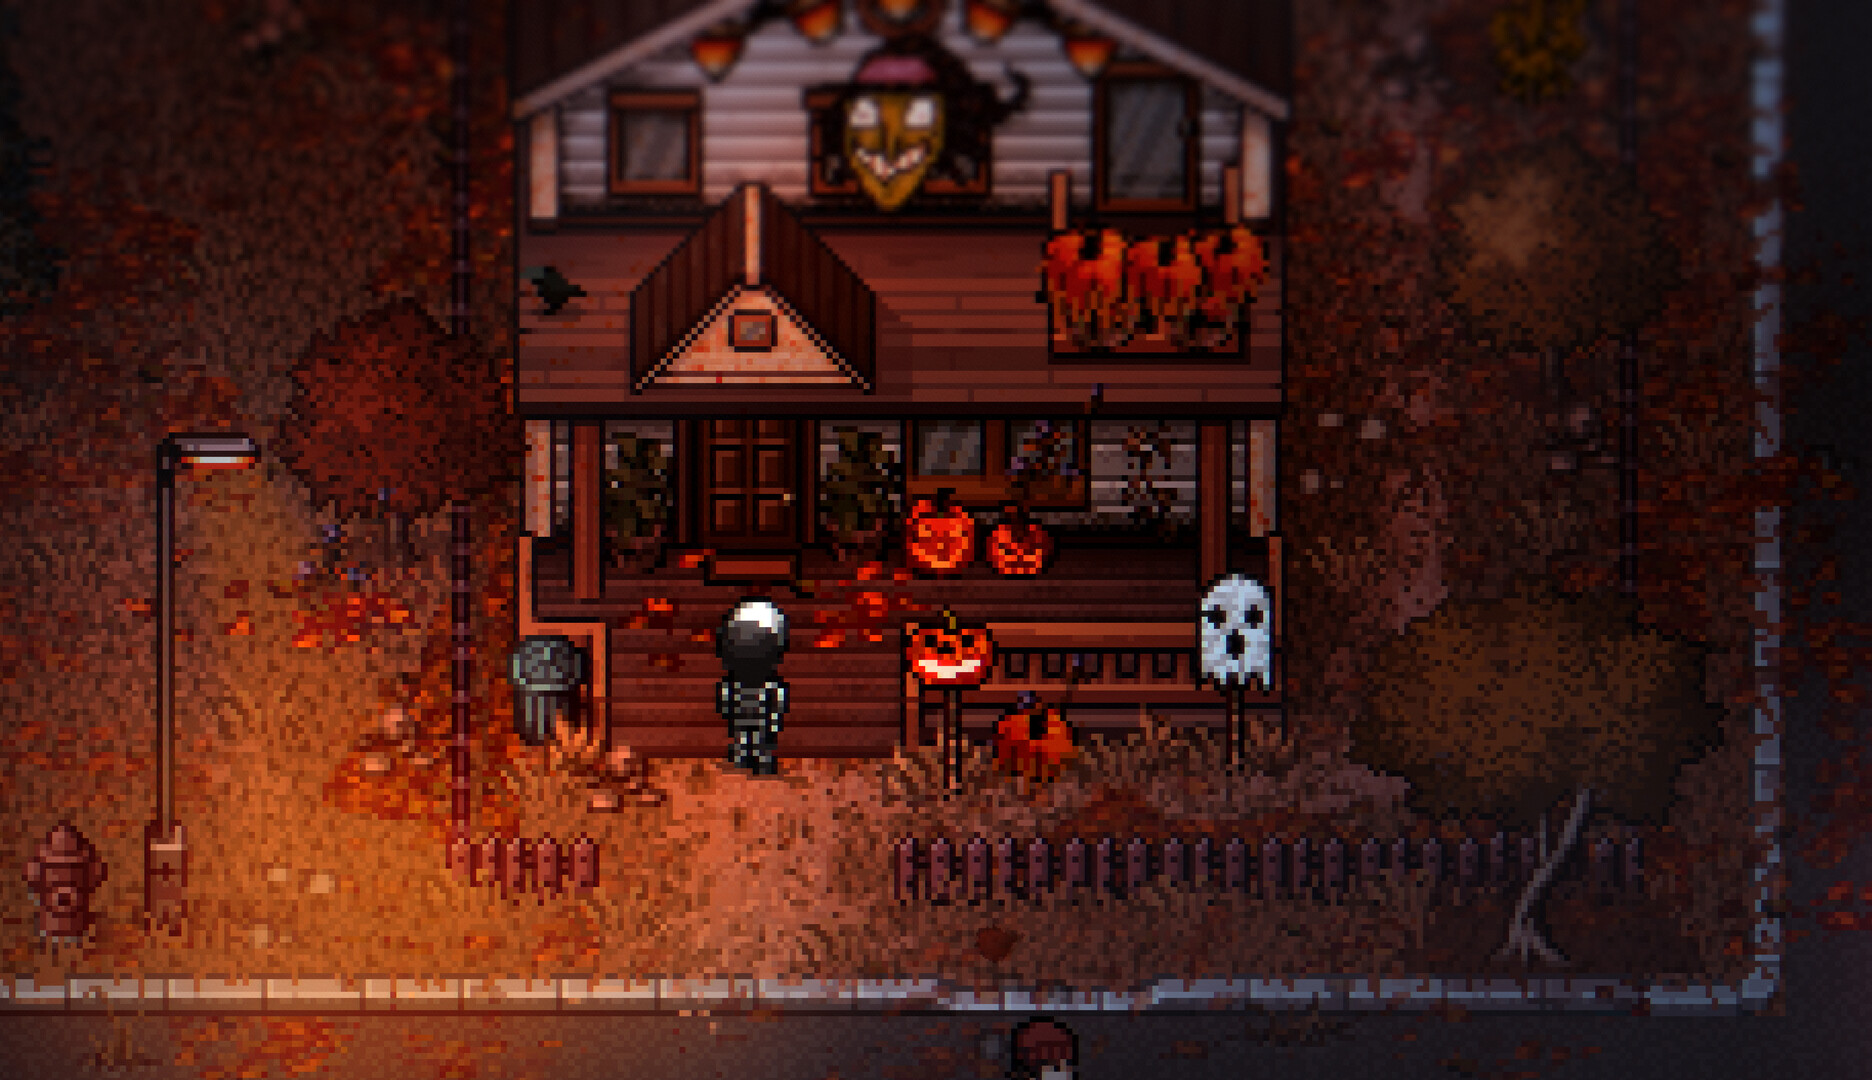
Start with a small working farm
Your first useful goal in Welcome to Elderfield is a farm that produces something while you learn the town. It does not need to fill every open space. Clear enough land for a manageable planting, learn where your tools and supplies come from, and finish one short task before you buy several unrelated projects. That gives the next day a purpose: water the plants, collect what your current task needs, then use the remaining time to explore. You can expand later without having spent your first income on seeds you have no time to tend.
This route is based on the released game's official description, the developer's pre-release system explanations, and community reference material checked in September 2026. It is an opening strategy, not a promise that every event will happen on the same numbered day in every save. Difficulty choices, settings, missed watering and time spent talking all change the pace. When a current task or item description gives a different quantity, follow that description. The important order is to make the farm usable, start a crop needed for a task, obtain the free fishing introduction, and turn your first production into further access rather than immediate decoration.
- Clear Ghost Tentacles with Cleansing Balm before using the hoe.
- Reserve the first task wheat before selling or processing it.
- Accept Herb's fishing introduction before buying a rod.
- Give each afternoon one primary errand.
Make the first decisions before you spend
Choose your difficulty for the kind of evening you want to have. Cozy is presented by the developer as the relaxed option; the harder settings increase combat pressure and the consequences of mistakes. Custom deserves particular care because the launch announcement says it cannot be changed later. You do not gain a useful farming advantage by choosing a setting that makes every short trip exhausting. If you want to read conversations and learn the production chains first, choose accordingly rather than treating a difficulty label as a test you need to pass.
Once you can open the menus, find Tasks, the map, inventory, equipment and options. Check the displayed controls before following keyboard shortcuts in an old guide, especially on a controller. Set the controller notation to match the pad you actually use. Read the items already in your inventory before buying replacements: Elderfield's opening conversations provide equipment and unlocks, so shopping first can waste money. Keep a simple distinction in mind as you meet people: some sell something, some start tasks, and some do both. A shop list is not a substitute for reading the person's other conversation choices.
Clear, till, seed, then water
The farm's Ghost Tentacles are an actual preparation step. Use Cleansing Balm to clear the spaces you intend to cultivate, then prepare the cleared ground with the gardening hoe. Put seed into prepared soil and water the planted tile. If the game refuses an action, work backwards through that sequence. A watering can does not solve a tentacle problem, and repeatedly selecting a seed does not prepare untilled ground. Fix the first missing step instead of trying every item in your inventory against the same space.
Start with a compact patch you can visit in one pass. Leave a clear approach so a decoration or machine will not obscure the last plant in a row. Purchase the basic farming tools from Old Man Crawford if you do not have them already, and read their current prices rather than assuming an old screenshot's free starting offer still applies. Before leaving the farm, look at each planted space once. This is faster than discovering several mornings later that one tile never entered the same growth cycle as the rest. Do not clear the entire property solely because you have enough balm; unused cleared land does not fund the next task.
Give the first wheat a job
Wheat is a sensible first planting because it supports Farmer Hans's early task and the food chain. Speak to Hans, read The Farmer's Path, and keep the requested wheat when it is ready. Claiming that reward matters more than squeezing an extra sale out of the first harvest: community task references identify the Grinder and recipe-shop access as the useful results. Once the task is visible, treat its wheat as committed stock. It should not become dinner or spending money while you are waiting to return to the Farmhouse.
Growth is counted across nights, not by counting the planting date as a completed growth day. A crop described as taking four nights, planted on day one and growing normally each night, is ready on day five. Daily watering is the dependable opening routine, and midnight matters even when you have not slept. If you notice that one plant is behind its neighbours, a missed watering is a better first explanation than a broken save. Avoid buying a second complicated crop just to fill the waiting period. Fish, meet residents or gather for a known recipe while the wheat progresses; those activities add options without increasing tomorrow's farm chores.
Let Herb provide the fishing introduction
At the Lakefront, speak to Fisherman Herb and accept his invitation to fish. His introduction supplies an Old Fishing Rod and bait, so there is no reason to make buying a rod your first expense. Read Casting Your Line before making your first cast. The early task asks you to show him particular fish, which makes it a useful lesson in choosing bait rather than simply selling whatever comes out of the water. Keep the catches associated with the task until you have finished the relevant conversation.
Having bait in your bag is not the same as loading it. Use the bait from inventory, keep the rod with you, then face the fishing spot straight on and interact. The starter Ghost Flounder and Fog Eel illustrate the distinction: at the Lakefront, use Worm for the former and Leech for the latter. If you keep catching the wrong species, check the loaded bait before changing location or spending money on a stronger rod. Leeches can come from bait packs; a pack is a chance at its contents, not a promise that every purchase will contain precisely what you need.
Choose one afternoon destination
After watering, decide which single job would remove the biggest current obstacle. If the wheat is growing and Herb's task is open, an afternoon at the Lakefront is coherent. If you need a material for a specific tool or station, make a gathering trip for that material. If you have the object a resident requested, hand it in and read the new options before leaving. A route with one purpose usually produces more progress than circling the whole town hoping to remember why each building looked important.
You can still talk to people and collect useful things along the route. The difference is that these are convenient additions, not a reason to abandon the main errand halfway through. When you reach a locked door, note the task or named key it asks for and continue with the work you can do. A lock does not automatically mean you need to search every container immediately. Elderfield uses progression gates, and an apparently optional conversation may supply the intended next step. Return to your active tasks before buying random keys or taking a long trip based on the appearance of a doorway.
Carry food you understand
Read food descriptions before taking a risky trip. Elderfield's combat uses HP, MP, equipment and temporary effects; a meal's value depends on which of those you need. A food with a large healing number is not necessarily your best choice if the problem is running out of the resource required by a useful skill. Similarly, something described as a cooking ingredient may be far more valuable after preparation. Do not treat every mushroom or strange piece of meat as a safe snack simply because you can pick it up.
For your first excursions, choose familiar supplies and leave a reserve at home for the next attempt. Consume recovery when it can help you complete the route, rather than saving everything until a battle has already become unrecoverable. If an encounter repeatedly costs more food than the trip returns, change the plan: collect easier materials, improve one relevant piece of equipment, or take a shorter route. The farm is there to support exploration. You do not need to prove that a weak starting setup can finish every dangerous location before you have built the means to recover from it.
Understand the first production chain
Once you receive or build a Grinder, test a small batch before processing the entire harvest. Wheat becomes Dough through the Grinder route in current reference tables; do not place it in a Furnace because a derivative guide used the wrong station name. A machine is a timed process. You supply an accepted input, meet the fuel requirement if one is shown, and return after it finishes. Regular crafting, by contrast, uses a recipe at a station and is not the same interaction as loading a processor.
The developer has explained one particularly useful rule: crafting can use stored materials, whereas a processor expects the input in your carried inventory; processor fuel can be taken from storage. If a machine claims it has nothing to process, withdraw a small amount of the actual input and try again. Do not rebuild the machine or buy another recipe before checking that distinction. After the first batch, compare the output with the food or equipment recipe you are trying to complete. Making an intermediate product is progress only if you still have the other ingredients and the right station for the next step.
Spend for access, then for convenience
Before selling a harvest, separate what is needed for accepted tasks, what you will use for near-term food, and what is genuinely surplus. You do not need a perfect lifetime stockpile. Keeping every item forever makes it harder to see what you can afford, while selling everything forces repeat trips for ordinary ingredients. Reserve the items you can name a use for, then sell enough of the rest to fund a specific purchase. This keeps early money decisions tied to actual play rather than an imagined endgame requirement.
A useful purchase either opens a system, solves a repeated bottleneck or pays back in work you actually do. A wider watering can is valuable when watering already takes a meaningful part of your routine. A fishing upgrade is valuable when you can reach water that requires it. A decorative object is enjoyable, but it should not leave you unable to buy the seed, bait or feed needed for your next day. If two upgrades compete for the same bars, choose the activity you intend to pursue first. You can delay the other without having made a permanent mistake.
End the day with tomorrow ready
Before sleeping, return task objects to a place where you will recognise them, prepare the supplies for the next trip and inspect any machine batch you expected to finish. Read the television or other daily information when it is available; the official launch material specifically presents the morning broadcast as part of the town's routine. Bathing is also worth learning early, since the developer highlights its restorative role. Use those home interactions deliberately instead of treating the house as only a doorway to a save menu.
The next morning should begin with a short sequence you can remember: check current conditions, look after planted crops, collect finished goods, then leave for one chosen destination. If a task did not advance yesterday, read its objective literally. Does it say bring, show, craft, speak, or investigate? Those verbs can imply different completion steps. If a page describes a demo-only bug, check whether the same problem occurs in your release build before applying a workaround. Your opening is successful when you can explain what tomorrow's harvest or trip will unlock. A full field and a long task list are less useful than that clear next action.
Recover from a messy opening without restarting
If you have already spent too much, work with the tools and routes you own. Keep the existing crops growing, complete any task whose item is nearly ready, and use the free fishing introduction if you missed it. Do not buy several packs, seeds or supplies merely because another guide says the first week should look a certain way. First identify one affordable action that returns either an item you need or saleable surplus. Then repeat that action only until the immediate purchase is covered.
If the farm feels too large, stop planting newly emptied spaces for a while. Maintaining fewer crops is a legitimate way to make room for exploration, not a failure to optimise. If you missed a day of growth, adjust the expected harvest instead of destroying the plant. If a tool seems ineffective, check its tier and the object being targeted. If a shop or recipe is missing, revisit the relevant task giver. These small corrections preserve what you have earned. Restarting is worthwhile only if you actively want different starting choices, not because an opening route took a few more days than a published schedule.
Sources & further reading
Mechanics are compared across cited sources; older-build differences are stated in the articles.