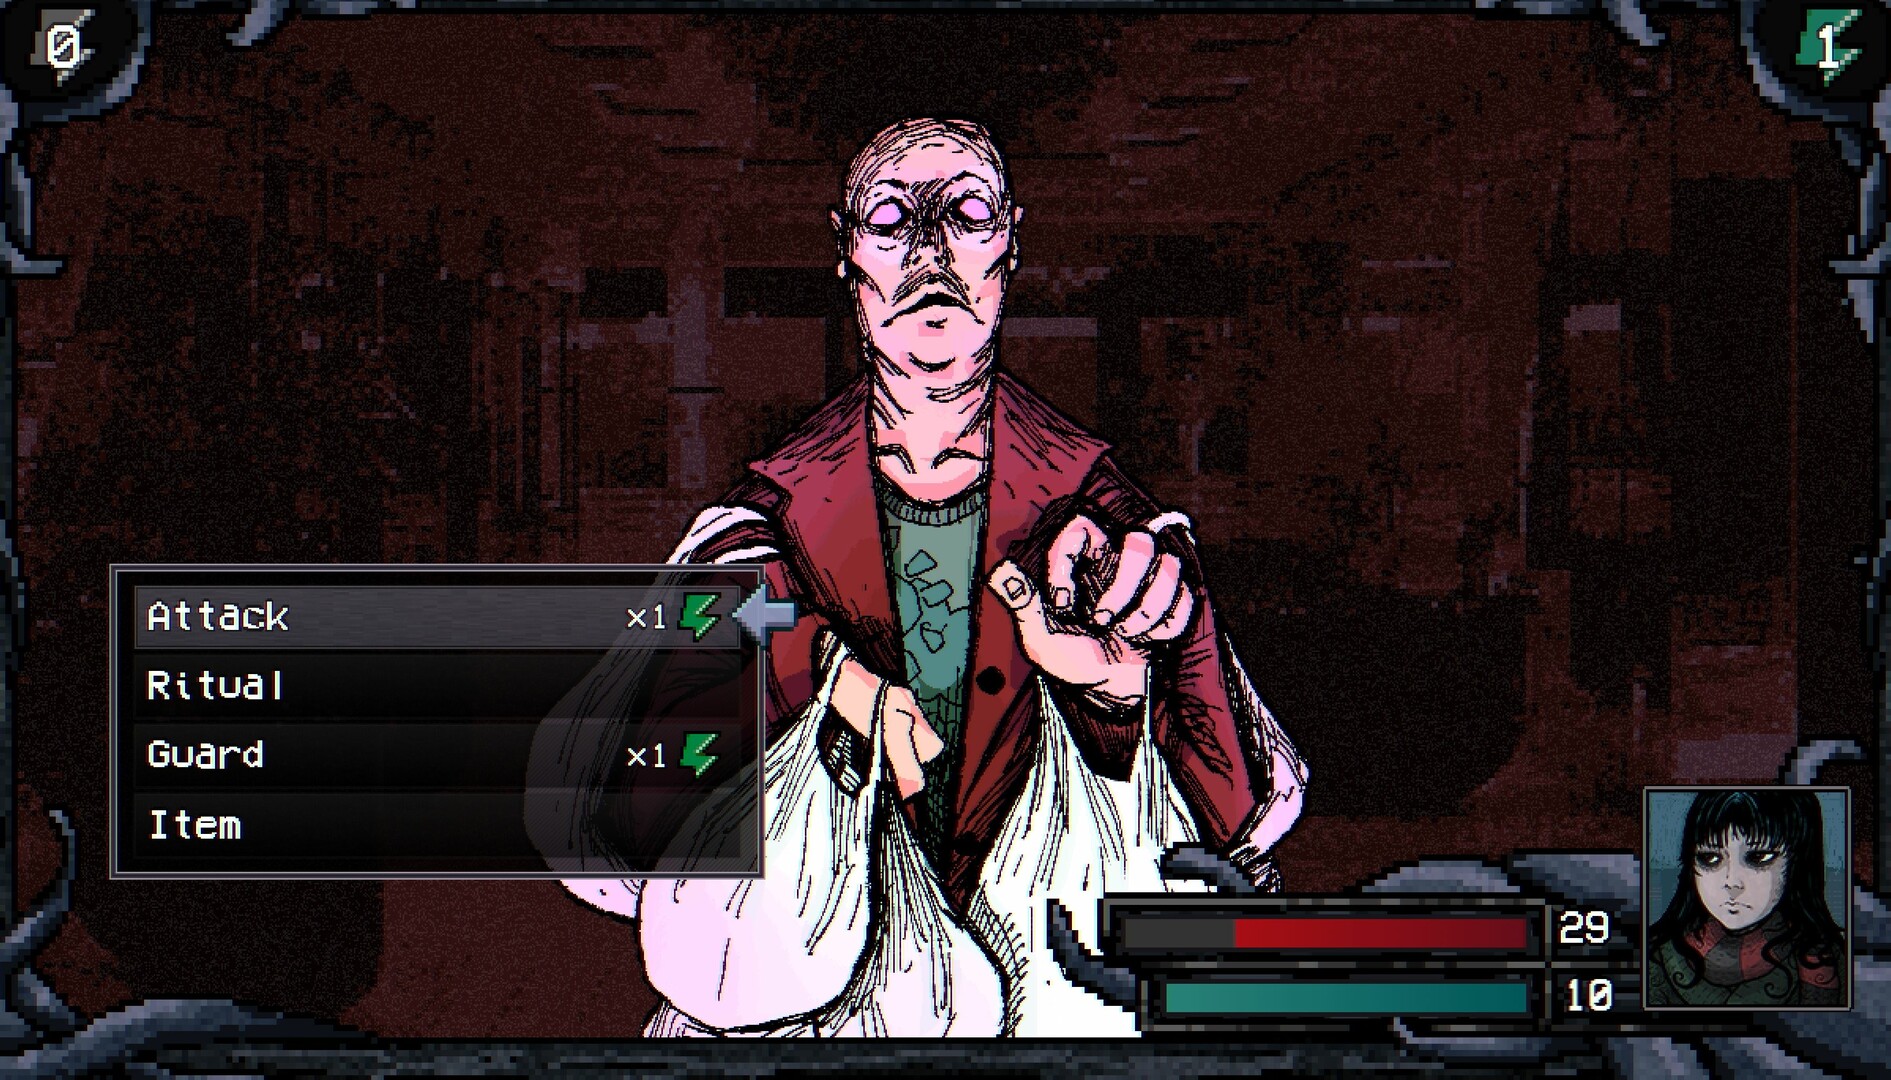
The setting changes how much preparation you need
The most useful difficulty choice is the one that lets you enjoy both halves of Elderfield. If you want to spend time with residents, crops and mysteries, the relaxed option leaves more room for those interests. If you want every expedition to make you reconsider equipment and supplies, choose a harder preset. Neither approach requires you to race through the opening. Farming, food and gathering are part of the combat preparation, so time spent building a reliable home routine is still meaningful progress on a demanding setting.
The September 10 launch announcement names Cozy, Easy, Normal, Hard, Nightmare and Custom. That is a better starting point than guides which reduce the game to a choice between Cozy and an alleged Old Gods mode. The Old Gods are part of the game's description and world, but the phrase alone does not tell you the exact rules of a save. Read the preset's text in your installed version. This guide explains how to plan around those choices without inventing damage multipliers, guaranteed death outcomes, achievement rules or hidden ending requirements.
| Your priority | Planning approach |
|---|---|
| Town, farming and conversations | Read the Cozy preset and keep the first production base small. |
| Learning combat | Choose a preset, test a short route, then fix the observed shortage. |
| A deliberate challenge | Review every Custom choice before confirming; the launch notes say it is fixed. |
| Repeated failed trips | Change one of equipment, food, route or difficulty options that your save permits. |
Treat Custom as a considered starting choice
The official launch announcement specifically warns that Custom cannot be changed later. Before confirming it, read every prompt and consider how the selections interact. Removing or changing a recovery option can matter more than a small change to an enemy statistic. A character who wins one fight comfortably may still struggle across a whole route if the chosen rules make recovery inconvenient. Take time with those prompts while you have no farm, task chain or equipment investment to protect.
If you are unsure what a prompt means, a preset is a useful way to learn the ordinary loop. You can see what meals, equipment and home interactions do before designing a more specialised run. Do not select Custom simply because the name sounds like an advanced version with extra rewards. Nor should you assume a video creator's settings produce the same experience as the preset with the nearest label. When asking for help later, include the actual custom choices. Otherwise, advice about surviving a route or recovering from defeat may describe a different set of rules from the ones you chose.
Plan a relaxed run around access and variety
For a relaxed first run, make your early purchases support activities you want to try. A small crop patch, the fishing introduction and a useful food recipe give you a way to alternate between the farm and town. You do not need to grow every available seed or unlock each machine as soon as it appears. The lower-pressure choice is most rewarding when you use the breathing room to read conversations and inspect unfamiliar objects, rather than imposing a strict daily income target on yourself.
Cozy does not mean that the horror artwork, disturbing events or the game's identity disappear. The official description still presents the game as a horror RPG. It also does not remove the need to read food and equipment effects. A tool that cannot interact with a material remains the wrong tool, and a task that needs a particular fish still needs the correct bait. Concentrate on those access rules first. They are often what makes an early route feel confusing, even when the enemies are manageable. A comfortable setting helps you learn the rules; it does not replace them.
Build a reserve before a demanding expedition
On a harder run, set aside enough supplies that one poor attempt does not empty the kitchen. This is a planning rule rather than a fixed item quota: the amount depends on how much damage your route deals and what food you can replace. First learn a short section of the destination, then return with the resources it produced. Use that small trip to estimate the next attempt instead of committing every rare meal to an unfamiliar route. A partial excursion can be successful when it teaches you what actually limits progress.
Choose upgrades according to the failure you observed. If enemies survive too many turns, inspect your attacks and relevant offensive equipment. If a particular type of damage is the problem, review defences and effects rather than assuming the weapon must be replaced. If you run out of MP, a bigger bag of HP food does not address the shortage. Write the problem as a sentence before spending: I need to survive one more round, restore a particular resource, or access a material. That sentence should point to a concrete purchase or recipe, not an unfocused shopping trip.
Read equipment before comparing the largest number
Equipment can change more than a visible attack or defence value. The developer's September demo notes explain that automatic optimisation was removed because equipment can lock statistics or skills and alter basic attacks in confusing ways. The replacement loadout feature is intended to make deliberate setups easier. That history is a reason to inspect the full item text. An apparently stronger piece can be inconvenient if its behaviour removes the action around which you planned a fight.
Use a small number of understandable setups. For example, keep an exploration setup whose attacks and recovery needs you know, and create a separate experimental setup when testing a new effect. After switching, check the resulting skills before leaving safety. Do not name a loadout only after its newest item if that makes you forget what it is supposed to achieve. A name such as gathering trip or magic recovery records the purpose. If a skill seems to vanish, inspect equipment changes before treating it as a progression bug. The same practical habit is useful on every difficulty.
Budget work before you budget money
A larger farm is a commitment to future actions. Before clearing more spaces, consider how long your current planted area takes to maintain and whether that leaves room for the trip you want to make. Difficulty does not make an overambitious crop plan convenient. If your intended expedition requires careful preparation, a small farm with predictable chores can support it better than a large field that repeatedly delays departure. Expand after a tool or route improvement makes the daily work easier.
Tie production to a near-term purpose. Grow an ingredient for a meal you can actually prepare, gather bars for the specific upgrade you chose, and obtain bait for a known fish. This is especially valuable when money is tight because different systems compete for the same ordinary resources. Spending all your coal on an intermediate product can delay a tool; spending every crop on sale can delay food. You do not need a permanent spreadsheet to solve this. Before processing a batch, mentally reserve what the next one or two planned actions require.
Separate learning attempts from completion attempts
A learning attempt has a narrow question. You might want to discover what enemies appear just inside a new area, check whether a tool works on a visible resource, or understand how much healing a short route requires. Bring enough to return safely under your chosen rules, but avoid using every valuable consumable merely to push a little farther. Once you have an answer, turn it into preparation. Repeating an identical unsuccessful attempt without changing equipment, supplies or route rarely reveals much new information.
A completion attempt is different. Prepare the food, relevant equipment and task objects in advance, then give the destination your attention. Finish the farm chores first so you are not also worrying about unfinished planting. Load the intended equipment setup and inspect your supplies rather than trusting the loadout name alone. If conditions change unexpectedly, you can still abandon the attempt. The decision should depend on the remaining resources and the likely next obstacle, not on the feeling that time already spent must somehow be justified by continuing.
Check the actual defeat rule before taking risks
Do not use an old article's gold-loss percentage or a claim of universal permadeath to plan a release save. The game has changed throughout its demo period, and the official launch announcement itself groups rising enemy statistics with stronger possible death penalties. The exact text in your selected preset or Custom choices is the right reference. A return home, a forced reload and a loss of resources are different outcomes. Advice that ignores those differences can make a manageable experiment unnecessarily expensive.
After a defeat, identify what changed and what did not. Check your task state, carried supplies and the point from which you are resuming. If you reloaded, remember that purchases or conversations after the save may need repeating. Avoid immediately spending more merely because the failed trip felt long. Often the right response is to shorten the route or use a recovery item earlier. If you report a suspected problem, include the build, difficulty, encounter and whether you were returned home or had to load a save. That information is much more useful than saying the game reset.
Make temporary effects visible in your plan
Before a demanding trip, read your active effects and their stated duration. A meal bonus, a curse and an equipment property are different things, even if they all alter a similar statistic. Work out which effects are relevant to the activity you are about to perform. There is little value in using a gathering benefit immediately before spending the remaining day in conversation. Likewise, do not judge a new weapon while an unrelated penalty makes the comparison unreliable.
Home recovery interactions can change the state you take into a trip. The developer's launch description highlights bathing, and community discussions repeatedly treat it as an important part of managing a day. Read what your current setup and effects permit rather than assuming every condition can be removed identically. Prepare final consumables after deciding the order of those interactions. If you use a useful temporary benefit and then remove it through another action, the item was not ineffective; the sequence was. A consistent departure routine makes that kind of mistake easier to notice.
Distinguish difficulty from controls and visibility
Some frustrating encounters with the game are interface problems rather than intended challenge. A controller with misleading button symbols, an obscured target or excessive visual effects can make basic actions feel unreliable. Use the control notation and graphics options to make the information readable. The September demo update introduced options for weather, fog and other effects, as well as controller notation. These adjustments can help you see what is happening without requiring you to change the strategic rules of the save.
Fishing is a useful example. The developer fixed diagonal controller targeting in the September 8 demo update. If a cast does not start, face the spot directly and check loaded bait before assuming your Fishing skill is insufficient. Similarly, a click that selects the wrong object near a crowded machine area does not prove a farm mechanic is broken. Give interactive objects some space and try the control hint shown in your version. Correcting an input issue is often a more precise answer than lowering the difficulty or replacing equipment that already meets the requirement.
Know when to change the plan
A good early plan has a point at which you reconsider it. After a few repeated trips, ask whether you are learning and progressing or just paying for the same failure. If the latter, pick a different activity for a while. Fishing can provide ingredients, farming can finance an upgrade, and town tasks can open options that a direct combat push will not reveal. This is not detouring from the RPG. It is using the supporting systems the game explicitly gives you.
If your aim changes from challenge to exploration, read the current in-game options for your preset rather than relying on an old statement about whether difficulty can be raised or lowered. Custom remains the important launch warning because it is specifically described as fixed. Avoid deleting a save in frustration before checking what can be adjusted and what equipment choices are causing the problem. Equally, do not assume you must change anything after one unlucky fight. Look for a repeated mismatch between the experience you want and the work the present setup requires.
Three sensible first-session plans
For a player primarily interested in the town, a sensible session is to establish a small wheat planting, meet the Farmhouse residents, accept Herb's fishing introduction and finish by preparing tomorrow's supplies. Choose a relaxed preset and let a new conversation determine the next destination. For a player interested in combat, keep that same small production base but give the afternoon to a short, deliberate equipment test. Record what restricted the route and use the next session to address it. The difference is the purpose of the afternoon, not a requirement to abandon farming.
For a returning player who already understands the systems, a Custom run can be planned around a specific challenge. Read the prompts, decide how recovery and risk will work together, and preserve those choices in your own notes. Do not copy a stranger's setup without understanding why it suited their route. In all three cases, the useful measure of progress is whether the next action is clear and affordable. Elderfield has enough interacting systems that a small, informed adjustment usually does more than a vague commitment to grind harder until the same plan finally works.
Sources & further reading
Mechanics are compared across cited sources; older-build differences are stated in the articles.