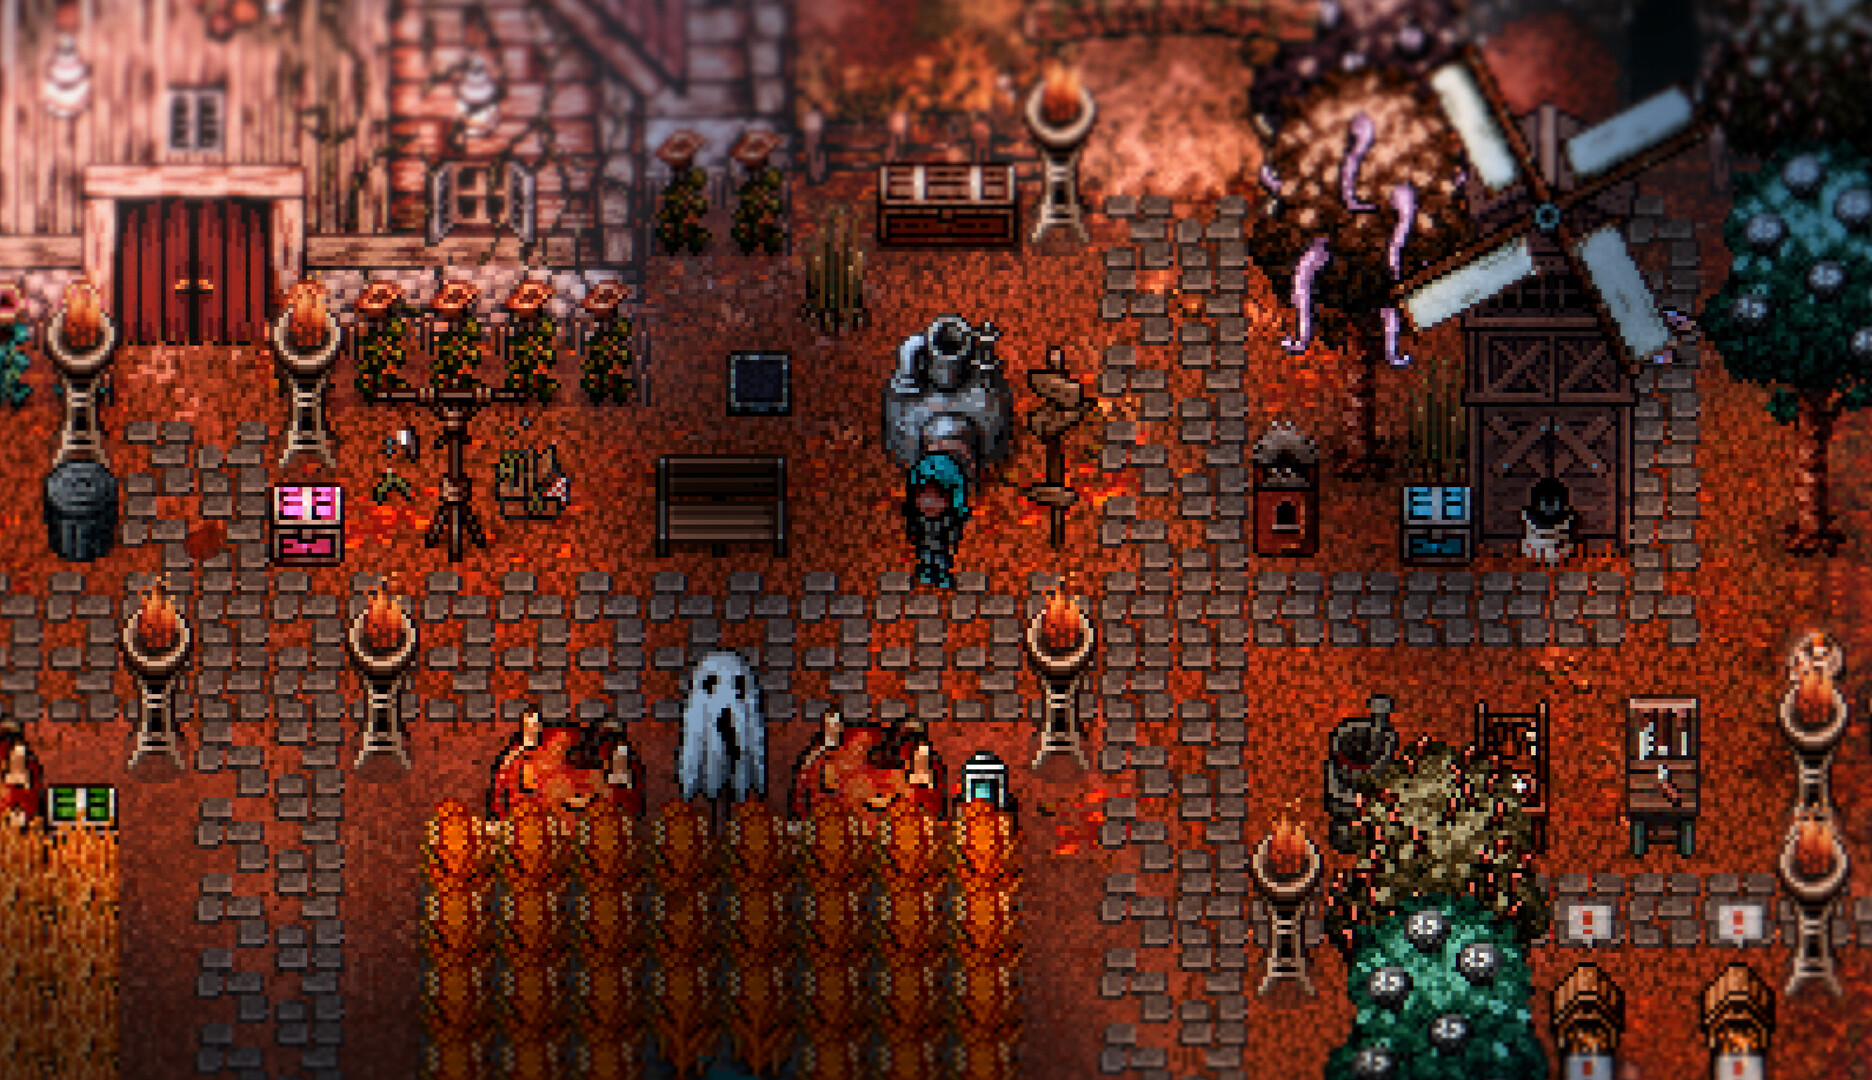
Start with the route, then place the objects
A good Elderfield farm is easy to use on an ordinary morning. You can reach the crops, see which spaces need attention, load a machine without selecting its neighbour, and leave with the right supplies. That is more useful than copying a screenshot in which every available tile is occupied. Your tools, unlocked buildings and favourite activities determine the layout. Keep the first version small enough that you can recognise an awkward placement before it becomes part of a crowded production area.
Walk the route you already use before adding anything: from the house to the crop area, toward the Farmhouse, and onward to the day's destination. Put frequently visited objects along that route where their placement rules allow. Leave room to approach them from a clear direction. Reserve decorative decisions for spaces that do not hide a crop or an interaction point. This does not mean the farm must look bare. A few deliberately placed objects can give the area character while preserving the practical access that a busy morning needs.
| Repeated problem | First layout change to try |
|---|---|
| A crop gets overlooked | Improve its sightline or group it with the same planting cycle. |
| Too many watering refills | Review planted area and watering-can capacity. |
| Machine targeting is awkward | Leave a clearer approach and space between objects. |
| Feed is often forgotten | Put the ranch on the departure route. |
Recognise the different kinds of planting space
Separate daily watering from object placement when planning the farm. The September 1 demo update changed flowers to crop-style planting with watering, so a flower area adds to the daily care route. Fruit trees require one tile of space around their planting position. Larger special plants should be placed according to their own item instructions. Keep these distinctions visible in the layout: group flowers where you will remember to water them, leave tree clearance, and reserve the appropriate ground for special items. Older community maps can still supply landmarks, but their former flower-placement instructions should not determine today's routine.
Before purchasing a planting batch, identify the type of seed and count the daily actions it adds. For flowers, include the planted spaces in your watering pass and arrange them where the last flower will remain visible beside machines or decorations. For a fruit tree, inspect the surrounding tiles before confirming placement; one blocked neighbouring space can explain a failed attempt without any need to buy another seed. Special plants should use the ground and interaction named by their own item. Plan these categories separately so a visually decorative garden does not quietly create more daily watering than you intended.
Size the first field to the watering can
The basic watering can is a single-tile tool with limited capacity. Before buying a large batch of seed, make one complete pass through your current planting and notice how often you refill or backtrack. That tells you more about the next sensible field size than a theoretical maximum-income diagram. If the routine already feels slow, improve the repeated action before expanding the number of plants that need it. A compact field also makes missed watering easier to spot.
The tool list gives the Basic Watering Can a one-tile range and capacity of 16. Sturdy increases those figures to three tiles and 32; Quality to five tiles and 48; Superior to eight tiles and 64. The Sturdy recipe needs the Basic Watering Can plus eight Copper Bars and eight Iron Bars. That is a substantial shared-metal purchase, so compare it with the hoe upgrade before committing. Keep your planted area compact while using the Basic can, then test the wider tool on the actual field before expanding. The listed range is a maximum coverage figure, not a promise that every stance or plot arrangement uses it efficiently.
Make protection visible rather than decorative
A scarecrow belongs where its effect reaches the intended field. Do not assume that placing one anywhere on the map protects every crop, or that several basic scarecrows can be stacked to produce complete immunity. Item references describe field limits and different protection strengths. Check the description and the range feedback in your version. Put the object somewhere you can identify at a glance, especially after moving other decorations or expanding into another area.
The point is to diagnose losses intelligently. If immature crops disappear, inspect protection and active conditions before blaming the growth timer. If a fully grown crop is simply waiting for harvest, its situation is different from a growing plant exposed to pests. Read the current rule rather than applying another farming game's scarecrow radius. Effigies and other farm objects also have their own limits and purposes. A crowded cluster of magical-looking objects is not automatically a better field. Choose the effect you need, confirm that it applies, then spend the remaining resources on an actual bottleneck.
Group machines by what you carry between them
Arrange production around the order of work. If you commonly turn wheat into dough and then cook, put the relevant interactions on a convenient route where their placement rules permit. If you smelt ore for tools, make the Furnace easy to reach on returning from a material trip. You do not need every machine beside the house merely because that looks tidy. A station visited once in several days should not block one used every morning.
The developer's distinction between crafting and processing is central here. Crafting can draw from storage, but a processor needs its input carried; only its fuel can be drawn from storage. That means the useful machine route includes a point where you withdraw the ingredients. A layout that ignores this will cause repeated trips even when every object is close together. Keep enough space to select a machine cleanly, then test a small load. Once the interaction is reliable, place another machine nearby if there is a genuine throughput need. Do not build duplicates solely to fill an empty strip of land.
Give short and long processes different attention
A one-hour intermediate product and a multi-day preserved food should not control the same routine. Short processes are useful when you can collect them while already passing the farm. Long processes should be loaded before you leave for other work and collected on a later visit. Check each machine's displayed duration and required fuel. A visually full production area is not efficient if most of its machines are waiting for inputs that you cannot yet supply.
Think in terms of return times rather than constant supervision. If you expect to leave town for a long trip, start the batch before departure and do not keep returning merely to see whether it finished. If a recipe needs a quick intermediate product today, start that batch first, handle nearby chores, then collect it before cooking. The layout should support these different visits: frequently collected machines on the main route, slower ones in an accessible secondary area. This produces fewer interruptions without requiring a complicated schedule or assuming that every processor uses the same clock.
Use a morning sequence that exposes mistakes early
Begin by reading the day's relevant information and checking your current state. Then make one crop pass: harvest what is ready, inspect what is growing, and water where required. Replant only if the next crop fits your available time, supplies and plans. This is the best moment to notice an empty space, an unexpected delay or a plot that is no longer protected. If you leave first and return late, the same small problem may be harder to correct before the date changes.
Visit animal troughs and collect products as part of the same departure routine once the ranch is active. Pick up finished machine batches that belong to today's errand, then load the next useful batch. Finally, take the food, bait, tool or task object for the destination you have chosen. The order matters because it reduces the chance of leaving with a bag of sale goods while the one requested item remains at home. You can adapt the sequence to your map and interests, but keep it stable enough that a missing step is obvious.
Expand the ranch only after the route can support it
A new ranch building adds more than a purchase price. It adds feed management, animal interactions and products that may need their own processing. Community documentation identifies Klaus as the builder and Henrietta as the merchant who arrives after a ranch structure is constructed. Visit the available options and read the animal's requirements before deciding how much space to devote to them. Buying a building does not mean you need to fill every slot immediately.
Keep the trough and animal access clear. It is better to have a small group you can service reliably than to own more animals than your routine or feed production supports. As the herd grows, trough capacity can become a convenience investment: it changes how often you must refill rather than replacing the need to supply feed. Place any supporting processor according to its permitted locations and the actual path between ingredients and troughs. If you repeatedly forget the ranch while leaving for town, change the departure route before adding another field of animals.
Use flowers and trees for a reason
Some farm structures interact with plant types. Current utility references describe Bee Houses benefiting from planted flowers and Bat Boxes benefiting from fruit trees. That gives flowers and fruit trees a practical purpose beyond appearance. Read the structure's description before assuming that a particular flower or tree will improve it. Build the supporting planting because you intend to collect and use the output, not because a decorative corner in someone else's farm implies an undocumented bonus.
Leave one tile of space around a fruit tree's planting position, as specified in the September 1 demo update. Check this clearance before rearranging the whole garden when a tree will not place. Keep the access route clear too, so you can still reach nearby machines and mature plants. Flowers can frame the approach to the Farmhouse, but they now require watering and should sit on a route you already inspect daily. For a Bee House or Bat Box, read its own production description; the tree-placement clearance is a planting rule and should not be mistaken for a universal machine-bonus radius.
Redesign one section at a time
When a new tool changes your routine, test a revised section before moving the entire farm. Work out where you stand to cover the intended tiles and whether the route still lets you reach other objects. If a machine or decoration needs moving, use the current control hint. The September demo notes included interaction fixes for picking up ground decorations, so an old video can show a less reliable input sequence than the one in your release build.
Separate a cosmetic redesign from a production expansion. You can improve sightlines and paths without buying more seed, and you can add a necessary processor without refurnishing the house. Doing both at once makes it harder to tell what caused a new inconvenience. Keep the old route available until the replacement works. If you must choose between symmetry and an obvious interaction point, choose the latter near frequently used objects. The farm will still look intentional when its useful areas have clear edges and the decorative areas have enough room to be seen.
Plan transitions as a workload change
The in-game season names are Rebirth, Harvest, Witch and Death. Check seed availability and the planting rules shown by your current version when a transition approaches. Do not convert these automatically into another game's calendar or assume its season length. Count a crop's growth in nights and include any missed growth when estimating readiness. If you do not know the rule for an out-of-season plant, avoid putting all remaining cash into a late planting while relying on an unverified carry-over assumption.
Use the end of a planting cycle as an opportunity to adjust the layout. Empty spaces are easier to reorganise than an active mixed field, and you can decide which ingredients the next set of tasks or recipes will require. A smaller replanting may be sensible if you have just unlocked a destination you want to explore. Conversely, a period focused on the ranch and house can support more crops because you will be nearby. Let the season change prompt a practical question: what will I have time to maintain while pursuing the next part of the game?
Fix the repeated inconvenience, not the whole farm
If you often miss one plant, improve the sightline or put that crop with the others on the same cycle. If you refill constantly, reconsider field size or can capacity. If machines reject inputs, check what is carried before changing placement. If collecting products takes too long, move the frequently visited objects onto the route you already walk. If you cannot leave without forgetting feed, make the ranch a compulsory stop on the way out. Each of these problems has a specific cause; none requires a perfect new master plan.
A mature routine should be short enough to remember and flexible enough to skip optional work. On a major exploration day, perform essential crop and animal care, take prepared supplies and leave. On a farm day, collect slower batches, adjust plantings and handle construction. Keep enough empty space that a new unlock does not require dismantling everything around it. The best layout is one you stop thinking about during ordinary chores: the important objects are visible, the sequence is natural, and the rest of Elderfield remains available once the morning work is done.
Sources & further reading
Mechanics are compared across cited sources; older-build differences are stated in the articles.