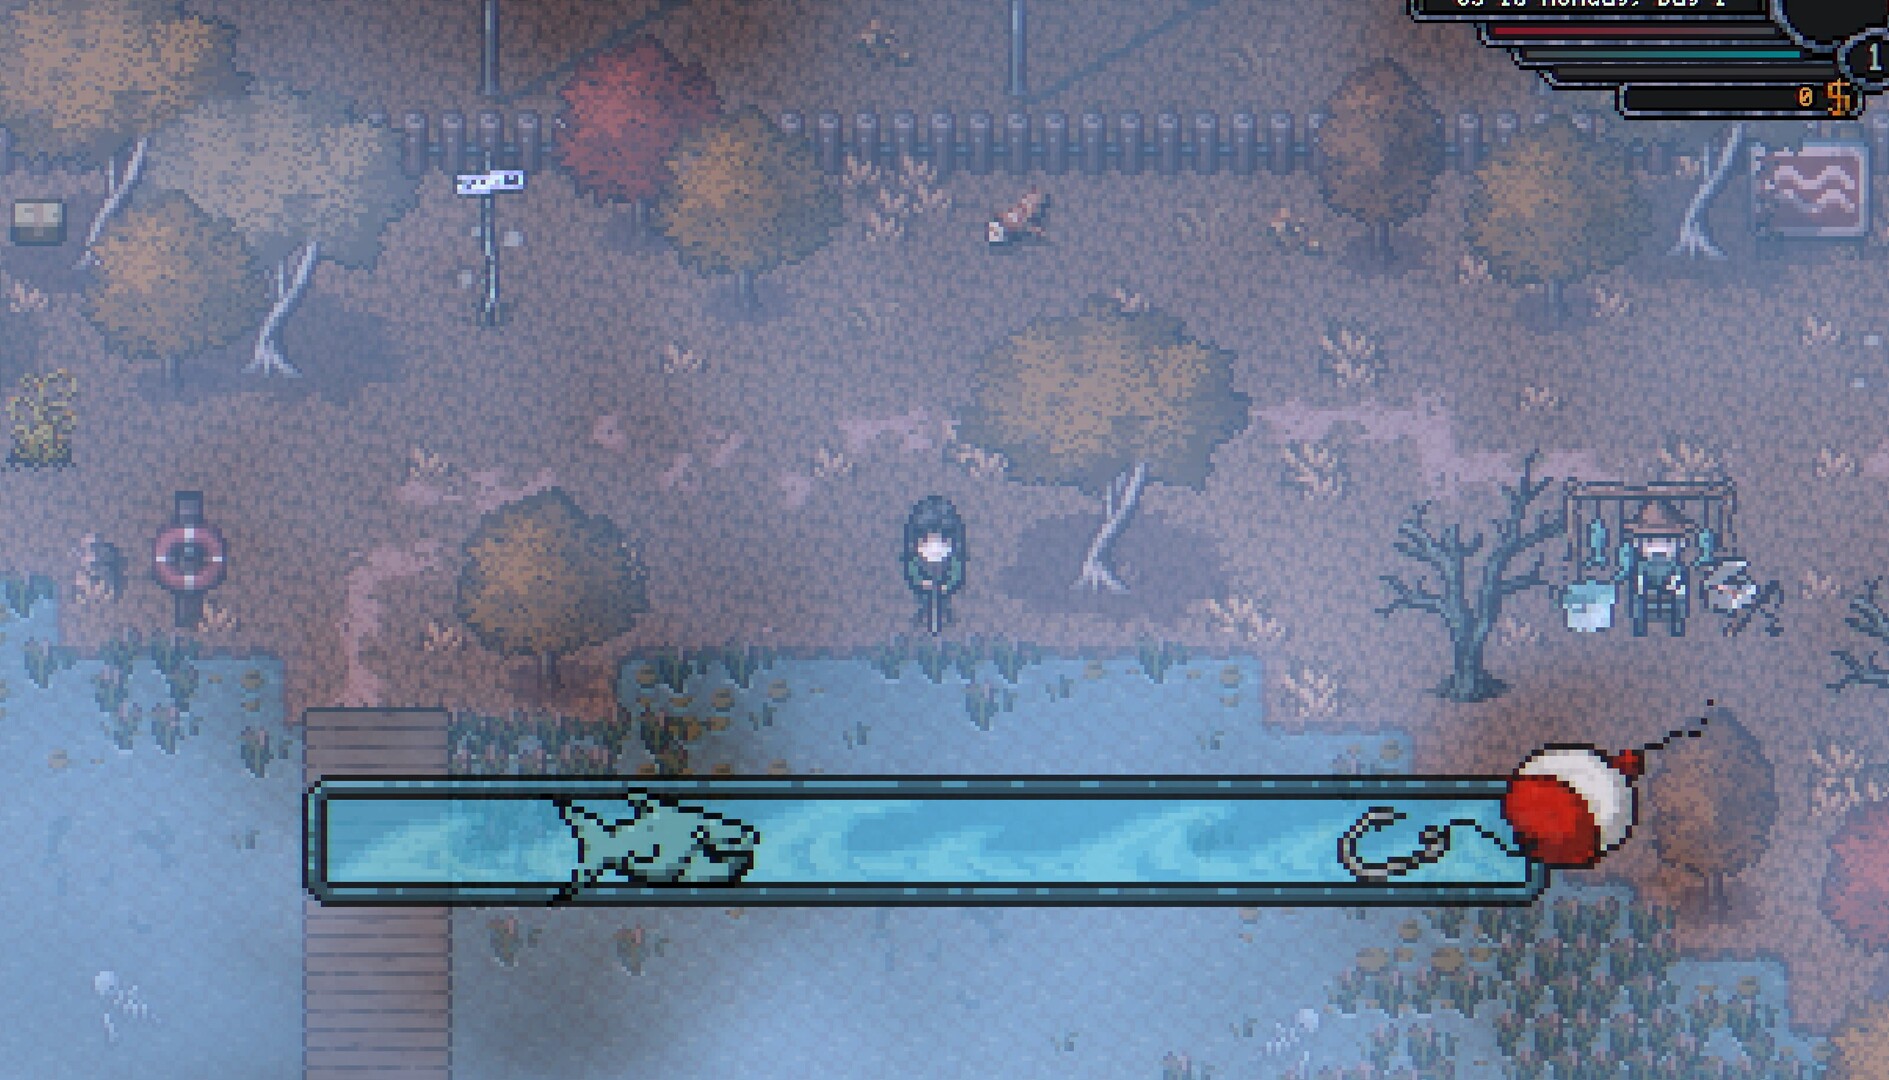
Get the free introduction before buying equipment
Speak to Fisherman Herb at the Lakefront and accept his offer to try fishing. He provides the Old Fishing Rod and starter bait as part of Casting Your Line. That makes the conversation the sensible first step: you learn what to do and receive the equipment before spending money on a fishing plan. Read the task objectives and keep the requested catches until you have shown them to him. Selling the first relevant fish can create an unnecessary second trip.
Fishing is useful as a source of task objects, cooking ingredients and saleable surplus. Those purposes require different decisions. If you need one particular fish, choose the location and bait for it rather than maximising the number of casts. If you want food, look at the recipes you can currently make and the fish groups they accept. If you want money, count bait and travel costs before deciding a session was profitable. Start with a clear purpose and the inventory becomes much easier to sort when you return.
| Symptom | Check first |
|---|---|
| No cast starts | Direct facing, rod present and bait loaded. |
| Wrong starter fish | Worm for Ghost Flounder; Leech for Fog Eel at Lakefront. |
| New water rejects the setup | Required rod tier and accepted bait. |
| A restricted fish never appears | Location, bait, season, time and any active event. |
Load bait; do not merely carry it
A rod in inventory and a stack of bait are not enough if the bait has not been loaded. Select the bait and use it, then inspect the rod's Use option to check what is attached. This small interaction accounts for many apparent fishing problems. After switching species targets, check again rather than assuming the new bait became active because you moved it into your bag. Keep the rod with you and face the fishing point directly before interacting.
If nothing happens, troubleshoot in order: correct fishing spot, direct facing, rod present, suitable rod tier, loaded bait and bait accepted by that water. Change one thing at a time. Buying a higher-tier rod will not fix an unloaded bait slot, and buying more worms will not solve a target that needs another bait. The developer's September 8 demo notes specifically fixed controller fishing spots trying to target diagonals. That historical issue is another reason to stand straight in front of a spot before deciding the action or your controller is broken.
Use the starter task to learn bait selection
The Lakefront's starter pair teaches a practical rule: different fish in the same water can need different bait. Use Worm for Ghost Flounder and Leech for Fog Eel. Neoseeker's current reference lists those starter catches without a season or time restriction, so an unsuccessful session should first prompt a bait check rather than a wait for special weather. Both the community task page and the fishing reference connect them to Herb's introduction.
Keep a Ghost Flounder and a Fog Eel for the task conversation before treating them as spare ingredients. Read the objective's verb: showing a fish is a task interaction, not necessarily the same as putting it into a recipe or selling it. After completing the conversation, inspect the reward and any newly available recipe options. The value of this opening fishing session is not simply the fish price. It teaches the bait system and opens a route into food preparation, which can support both farming and exploration.
Buy bait for a target, not in frustration
Bait packs can supply Leeches and other bait, but their contents should not be treated as a guaranteed direct purchase of the exact item you need. If you have limited starting money, check what you already own and any available shop description before buying several packs. Once you obtain the target bait, load it and test the intended water. Stop buying more merely because you have not caught the fish immediately; first make sure the setup is correct.
Keep different bait types recognisable in storage. A useful reserve is one that supports the trips you actually make. Worms for familiar starter fishing, Leeches for the eel objective and other bait for newly accessible water have distinct jobs. There is no need to collect a large supply of every type before using the first rod. When a new destination requires a different bait, solve that specific supply question. This avoids turning a straightforward task into a long series of random pack purchases that consumes the money reserved for farm tools or seeds.
Upgrade for access before chasing small bonuses
Rods have tiers that determine which fishing locations you can use. The reference progression places the Old Fishing Rod at early water, the Sturdy rod at the Old Woods Campsite, and the Quality rod at Catacombs locations. Keep this access requirement separate from your character's Fishing skill. A higher skill does not automatically substitute for the required rod, and a stronger rod is not necessary for every fish at an early spot.
The Sturdy Fishing Rod recipe consumes the Old Fishing Rod, eight Copper Bars and six Iron Bars. Its practical new destination is the Old Woods Campsite. The Quality rod then needs the Sturdy rod, ten Hardwood, four Void Crystal Bars, four Verdite Bars and four Green Crystals, and opens the Catacombs fishing locations. Check access to those areas before paying for the next tier. Neither upgrade is required simply to complete Herb's Lakefront pair: the Old Fishing Rod works there when the correct bait is loaded. Keep the earlier rod until the upgrade is made because it is part of the recipe rather than saleable leftover equipment.
Reserve the old rod until the upgrade is complete. Treat it as an ingredient in the next tool, not as unwanted clutter. Check the full recipe before smelting because a rod upgrade can compete with other early tools for the same bars. If you can already catch the fish your task needs, there is no urgency to spend those materials today.
Choose attachments for the purpose of the trip
The tool reference lists several reel effects with different aims: treasure, fish quality, extra-large catches and bait preservation. These are not interchangeable upgrades. If the trip is for an ordinary task fish, an attachment aimed at another reward does not remove the bait or location requirement. Read how the attachment is used and confirm it is applied rather than merely sitting in inventory. Do not confuse owning an item with activating its effect.
Consider the scarce resource in your current session. If bait supply is the limitation, a bait-preservation effect has a different value from a chance at higher quality. If you are pursuing fishing treasure, choose with that purpose in mind, while remembering that a chance increase is not a guarantee. If the relevant attachment is expensive or unavailable, the basic fishing route can still work. Your first success should come from the correct water, rod and bait. Fine-tuning secondary rewards makes more sense after those requirements are already producing the fish you came for.
Use Elderfield's clock and season names
The fishing reference distinguishes day beginning at 7:00 AM from night beginning at 8:00 PM. That makes the hour before seven in the morning a potential source of confusion: it is not part of the daytime selection simply because the farm day feels as though it has started. The four named seasons are Rebirth, Harvest, Witch and Death. Use those names when checking a target so you do not silently translate an old table's shorthand into the wrong conditions.
For a restricted catch, verify location, bait, season and time together. Meeting three conditions does not compensate for missing the fourth. Do not wait for rain unless the actual target's current information requires it. The starter pair does not need a weather hunt, and many repeated failures attributed to weather are a loaded-bait problem. If your settings disable seasons, inspect how that affects the available fish before planning a collection route across the whole calendar. A setting intended to simplify daily play can also change which seasonal selection is active.
Make each new water body a deliberate visit
Early fishing locations include the Lakefront and other accessible waters such as parts of the Mall and Sewers, with later areas requiring progression and stronger rods. Do not assume every visible pool shares the Lakefront's bait list. On entering a new location, check its interaction and the current reference before spending your whole bait supply. An apparently familiar fish name in a recipe does not tell you that the nearest water is the right place to catch it.
Combine fishing with a nearby errand only when the route still makes sense. A short session after handing in a town task can be convenient; a long detour with the wrong bait is not. Bring food and appropriate equipment if reaching the water involves dangerous areas. The rod solves the fishing requirement, not the journey. For a return trip, prepare the specific bait before leaving home so you do not arrive at an unlocked location with every tool except the consumable that actually allows a cast.
Treat event fish as a separate category
Some catches belong to an active event rather than the ordinary day or night selection. The current fishing reference describes contest-only opportunities at the Campsite and event fishing at the Carnival of Souls. A fish in one of those categories cannot be planned like an everyday Lakefront ingredient. Confirm that the event is active, that you have access and that you are carrying the bait accepted during it.
For a fishing contest, prepare before triggering any judging or ending interaction. Read the event's timing and complete the fishing you want while casting is still available under its rules. Do not assume a nighttime fish window can be substituted for a contest that ends earlier. Nor should you buy a large supply of event bait on the assumption it works at the same spot after the event finishes. Keep regular bait available for ordinary fishing afterward. Event targets are a reason to plan ahead, not a reason to abandon the straightforward starter routes that keep the kitchen supplied.
Keep the fish your kitchen can use
Before selling the day's catch, check active tasks and learned recipes. A named fish may be required directly, while a cooking recipe can sometimes accept a broader ingredient group. That gives you a chance to use an ordinary, replaceable catch instead of a rarer or higher-value one. Inspect the recipe's actual selection rather than assuming any fish icon means every species works. The crafting reference's generic ingredient groups are useful, but the current recipe is the final check.
Fog Eel also connects with the Fog Broth task route for Dave in the community task reference. That is a good example of why a fish's value can extend beyond Herb's introduction. Keep the relevant ingredient if that task is active and gather the other part of the recipe before cooking. Do not process all fish automatically on return. Decide which are task objects, which are meal ingredients and which are surplus; then sell or convert only the latter. This turns a fishing trip into useful progress rather than a stack of items you must catch again later.
Read old fishing complaints with their version attached
Fishing changed during the demo. The September 8 official notes include a fix for bait-exclusive fish rates and controller target direction; earlier September changes also addressed fishing behaviour and rewards. A pre-fix report that a bait seemed ineffective is therefore not enough to establish the same problem in the release version. Check the date of the report and the build before repeating its workaround.
At the same time, do not dismiss a current problem solely because a patch note says something similar was fixed. Verify your setup, try the interaction again and record what happens. Useful details include location, bait actually loaded, rod tier, time, season, input method and whether the cast starts. If you can catch other species, that is a different problem from not being able to interact at all. A concise report containing those facts helps separate a mistaken catch condition from an input issue or a real regression.
A screenshot of the loaded bait and the fishing location can be more useful than a long description of how unlucky the session felt. If you ask other players for help, include those details and the target fish name. That lets them check a concrete setup instead of guessing which of several requirements was missed.
Build a fishing session that ends with something useful
Before leaving, choose a target and check the route, rod and bait. On arrival, verify the loaded bait and make a small number of casts to confirm the interaction works. Keep task fish separate in your mind, and change bait deliberately if the next target needs it. Stop when the main purpose is achieved or when the remaining bait is better saved for another requirement. There is no need to exhaust every consumable simply because you reached the water.
At home, hand in or reserve requested fish, prepare useful food and sell genuine surplus. Note the next missing requirement while the trip is fresh: perhaps a new rod tier, another bait type or a recipe unlock. That turns the following session into a specific errand. Fishing becomes frustrating when it is treated as random waiting; it becomes dependable when each choice is checked in order. Herb's first task gives you the basic pattern, and the later waters add access and timing conditions to that same deliberate approach.
Sources & further reading
Mechanics are compared across cited sources; older-build differences are stated in the articles.