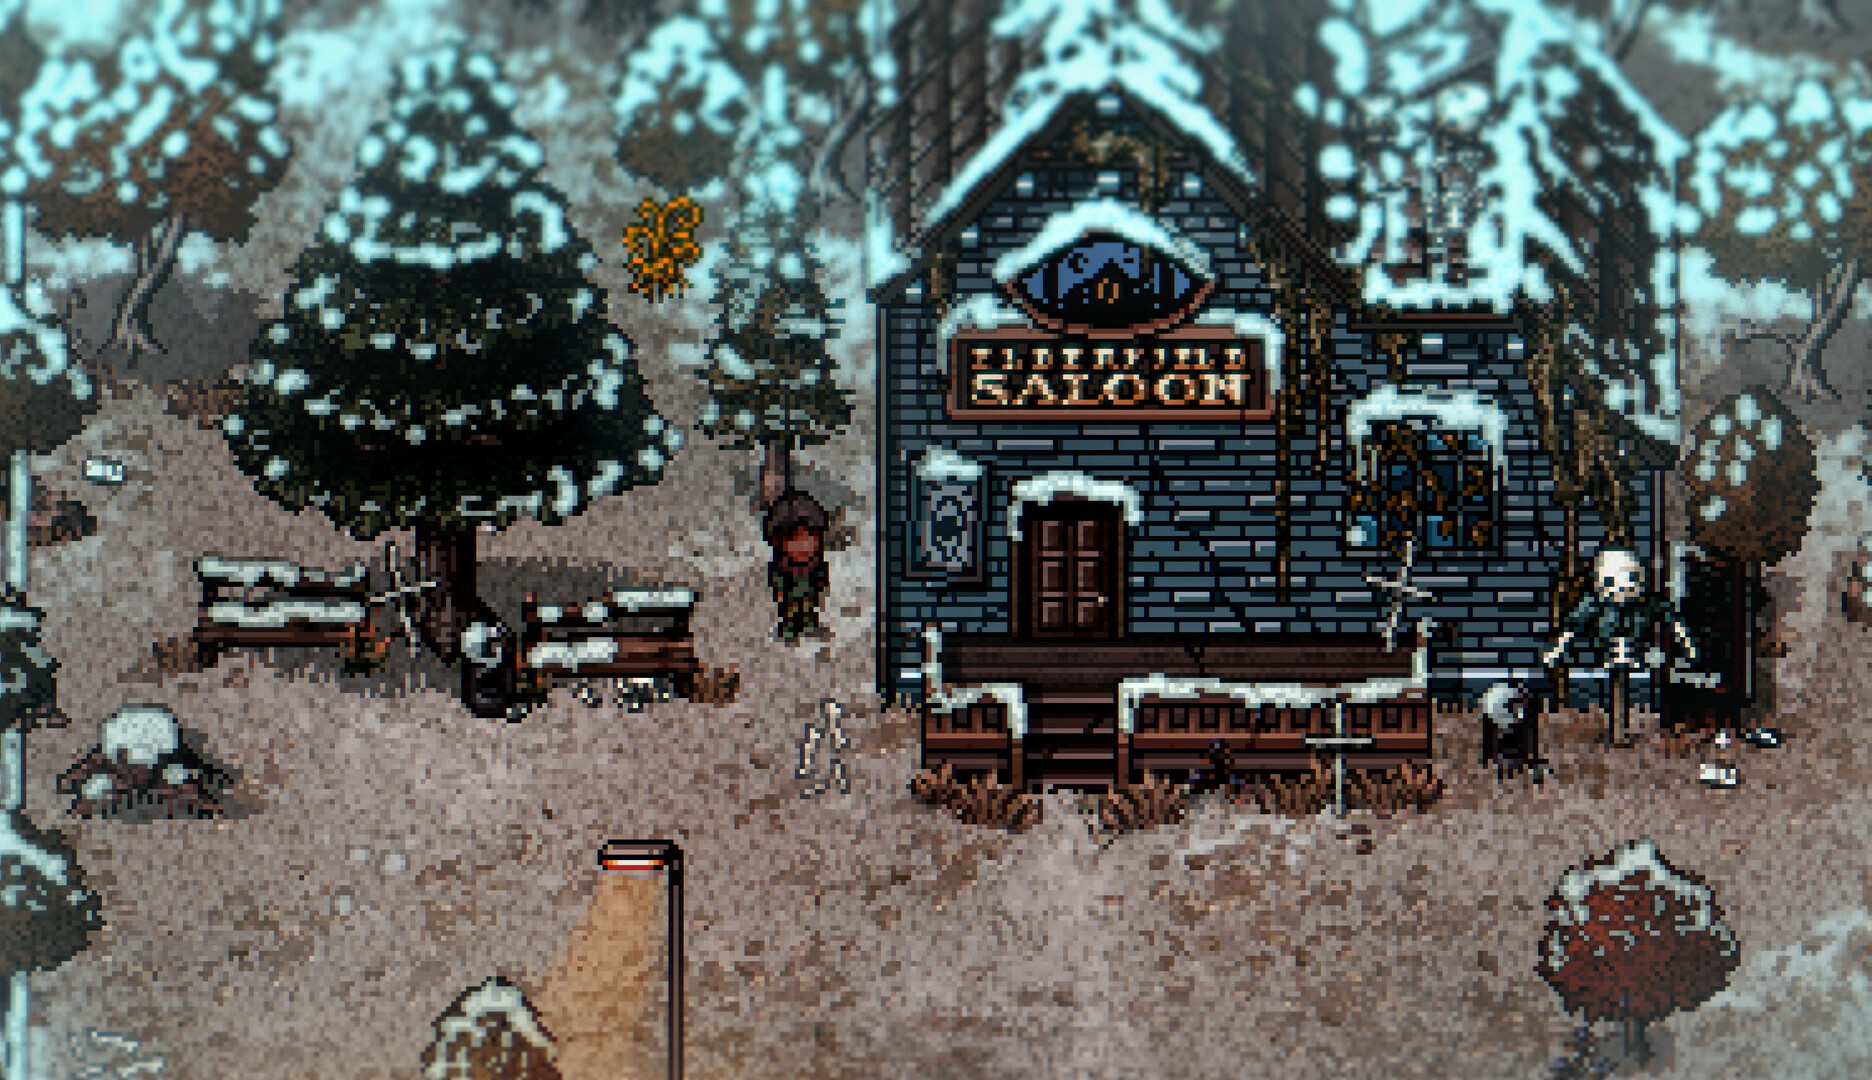
Begin with the farmhouse, because every town trip starts here
Elderfield is easier to navigate when you give each trip a purpose before leaving home. The farmhouse is the place to prepare, recover, read incoming information and put away items you will not need outside. The official description promises a town full of mysteries, farming and relationships; it does not make every strange doorway your next objective. For the first few outings, aim to identify the shops and the route back to your own door. Leave unexplained side passages for a visit when you have supplies and a reason to enter.
Use three questions before you leave: what do I need to buy, who has a task I can finish, and what am I bringing home? If the answers are seeds, a conversation and ordinary materials, you are planning a town errand. If the answer includes a hostile area, build a separate expedition around it. That distinction stops a five-minute shopping trip becoming a long detour with your quest ingredients still in your pockets. It also makes the town's changing stock easier to follow: you know which counter matters today, instead of revisiting every counter out of habit.
Use the General Store for a specific shortage
The General Store is a useful early landmark because it combines basic supplies with ordinary selling. Community item records list equipment packs, bait packs, cooking ingredients, a shovel and inventory-expansion items among its stock. Read the quantity beside a purchase before spending. A listed item is not a promise of unlimited copies, and an item that improves carrying capacity competes with the money needed for your next working day. Buy the shortage that is actually stopping a task rather than a collection of things that might be useful later.
Make selling the last decision in your shopping visit. First examine active requests, then inspect your bag for the exact item names they require. Retain ingredients for your immediate meal or crafting objective; sell surplus only after making that reservation. You do not need an enormous stockpile to avoid mistakes. One modest reserve for a known request is more useful than keeping every low-value object forever. Conversely, an unusual first-time find deserves a moment of investigation before sale, especially if you have just discovered a collection room or a recipe that could use it.
Separate the Workshop from the mines
The Workshop lies off the farm path and is associated with Molly. Treat it as a production destination: arrive with the ingredients for one item, inspect the relevant crafting requirements, and decide whether your next step is buying, gathering or refining. Do not start a mining trip merely because a recipe contains a metal. A recipe asking for a bar is not asking for ore, and an upgrade may require an existing item as well as materials. Looking at the actual requirement prevents a full trip that returns with the wrong form of the resource.
Elderfield has more than one mine. The Mining Shop described in the launch-period shop guide belongs to Mall Rat on the first floor of the Mall Mine; it is specifically not the Northern Mine. That distinction matters when following a short comment such as 'buy it in the mine.' Write down the named mine or identify the entrance on your own route. When a guide omits that detail, check before travelling. The town's small mine and the later routes should not be treated as interchangeable just because they contain stone and enemies.
Find people by their home and their current routine
A person's home gives you a dependable landmark, but a home address is not a guarantee that the person is there throughout the day. The player-made Town/NPC Map on Steam is particularly helpful for learning where named buildings sit. Use it to orient yourself, then follow what the current game shows. Older community schedules describe weather changes, evenings at the Saloon and visits to the farm. Those are useful search ideas, not an excuse to promise that a resident stands on one tile at one exact minute in every build.
When looking for someone, make the first failed stop informative. If they are absent from the place where you normally meet, check whether the weather, day or an event has changed. If the same trip also takes you past a needed shop, finish that business rather than circling the block repeatedly. You can then try the resident's home or the evening gathering area. This approach keeps relationship progress compatible with ordinary play. A missed meeting is inconvenient; abandoning everything else to search the entire map usually costs more than returning on the next suitable outing.
Give the Library its own visit
The Library is worth remembering as more than background scenery. Community documentation associates it with books and learning, and Celeste is closely tied to the location. That makes it a good destination when your immediate goal is to expand available knowledge rather than extract another bag of raw materials. Arrive with room to inspect what you find and enough attention to distinguish a recipe from a ritual or another kind of book. Their usefulness depends on the systems you are currently pursuing.
An older community description also reports changing library layouts and blocked paths. Because that page predates release, use the idea conservatively: an inaccessible section on one visit does not establish that you have missed a permanent key. Look for a current task requirement or an in-game explanation before assuming a bug. If you return and the arrangement differs, explore the newly reachable section. Your notes should identify the item or doorway you actually saw, rather than turning the older description into an exact reset schedule that your present save may not follow.
Visit changing shops when they can solve a real problem
The launch-period shop reference describes daily furniture rotation at Stan's Carpenter shop, a Monday change for Saloon food and Monday/Thursday rotation in the Garbage Shop. These schedules create different kinds of errands. Furniture is a browse when you are already nearby and have a decoration budget. Food rotation matters when you need a particular meal. The Garbage Shop merits a deliberate visit if its possible inventory contains something you currently want. None of these is a reason to buy everything that appears.
Rotating inventory changes how you should read a guide. 'Sold at the Carpenter' means that the shop can offer the item; it does not mean the item must be present every time you enter. If it is absent, check the stock note, then move on with another objective. Repeatedly opening the same counter is unlikely to answer whether its inventory refreshes by day or week. For a furnishing project, keep a short list of acceptable alternatives. A room can look finished with a different lamp, while saving your money for a genuinely hard-to-replace piece.
Make the Job Board part of a route, not a separate commute
The Job Board is a useful place to collect town requests, but posted tasks are only one source of work. Conversations, letters and earlier tasks also lead to objectives. Check the board on a trip through its part of town, then compare available requests with the materials you already have. A delivery you can finish now is a good companion to a shopping trip. A request requiring a new area becomes a future expedition; accepting it does not make that area safe or accessible.
Read the action verb in the objective. A task may ask you to bring something, show something, speak to someone or investigate a place. These are different completion conditions. If the journal has not advanced, speak to the named person with the required item present before gathering a second batch. Some chains also require claiming a reward between stages. You save time by checking whether the next step is a conversation rather than immediately returning to combat. The goal is to use the town as a set of connected services, not as a list of icons to exhaust every morning.
Recognize the boundary between an errand and an expedition
The Mall looks like a service destination, but it also contains hostile sections and progression tasks. The sewers likewise contain residents and objectives as well as enemies. A named shop beyond a dangerous route is therefore not equivalent to a shop beside your front door. Before crossing into an unfamiliar section, decide whether you can recover from a fight and still complete the purpose of your visit. If you arrived carrying gifts and shopping ingredients, returning home first can be the efficient choice.
Use the first unlocked route to establish a repeatable return path. Note the entrance you used, any locked transition and the last place you were confident of reaching safely. The next expedition can start from that knowledge instead of rediscovering the same junctions. Avoid combining a new passage, an unfamiliar enemy and an expensive shopping purchase into one commitment. Learning each separately helps you tell whether a failed trip came from navigation, insufficient supplies or a task prerequisite. That information is worth more than a long, unfocused run that ends without completing anything.
Treat the Travelling Merchant as a request-based buyer
The Travelling Merchant on the western outskirts is described as a weekend visitor who buys selected crops. The important point is that the offered purchase list is not a general promise to buy your whole harvest at a premium. Check the current request before carrying produce over. If you have a matching surplus, compare that sale with the ordinary shop option. If you do not, return to your other tasks; there is no benefit in filling your bag with unrelated crops.
Do not reorganize a whole farm around a request you have only just seen unless the crop timing actually works. A crop needs time to mature, and the merchant's next request may differ. The practical use of this service is to recognize a good outlet for something you already grow, then reserve an appropriate amount while keeping quest and cooking needs covered. It is also a useful example of why location guides need context. Knowing where a merchant stands is only half the answer; you also need to know whether that visit can accomplish the sale you intended.
A sample town trip you can adapt
Suppose you need seeds, want to greet Molly and have one completed request ready to turn in. Prepare the delivery item before leaving, check your money and leave unnecessary ingredients at home. Visit the farming supplier for the seeds your plot can actually support. Take the Workshop route for Molly and inspect the next crafting requirement while you are there. Continue to the request giver, finish the conversation and verify that the journal advances. If the path passes the Job Board, look for a request that matches your next planned outing. This is an example of route planning, not a fixed sequence imposed by the game.
Now suppose the requested reward points you toward the Mall. Stop and reassess instead of treating it as the automatic final leg of the same walk. You may need food, different equipment or more bag space. Returning home converts the next trip into a prepared objective. Before ending your current session, remember three things: the service that met today's shortage, the person you could not locate and the requirement that blocks the next task. That is enough information to resume without reading a long personal log. Elderfield remains strange, but your own errands can become pleasantly predictable.
For a second example, imagine a weekend visit when you also want new furniture. Check the merchant's requested crops before reserving any produce, and set aside only a matching surplus. Visit the Carpenter with a firm spending limit, then keep the two decisions separate: a good crop sale does not automatically make an expensive decoration necessary. If the furniture selection does not suit the room, save the money. The route has still succeeded because you have learned today's available trade and preserved the funds for a later purchase. Good town planning is measured by resolved needs, not by the number of transactions completed.
Use older maps without inheriting their assumptions
This guide combines the official game's stated systems with launch-period shop references and a clearly older community town description. It does not claim a tested minute-by-minute schedule, a complete inventory or a guaranteed layout for every save. Use exact names on the current screen as the final check when a route differs. A screenshot or map can remain useful after a patch even when a price or opening condition changes, so separate the stable landmark from the detail that needs confirmation.
If you started in the demo, spend one short town visit checking familiar services before relying on an old routine. Inspect the current counter, read any newly arrived letter and check whether a task has an additional stage. There is no need to replay every introductory action just to prove you remember it. The point is to update the handful of assumptions that affect your next purchase or journey. A careful five-minute check can prevent a much longer search based on a memory that belonged to a different version of Elderfield.
Sources & further reading
Mechanics are compared across cited sources; older-build differences are stated in the articles.