Add animals when you can support the routine
A ranch is a useful second source of ingredients, but buying animals is only the start of the investment. You need an appropriate building, a dependable feed supply, the tools required by the species and a reason to use the products. Start with a small group whose needs fit the farm routine you already have. A field full of animals is not an improvement if feeding them consumes the money or time intended for your next task.
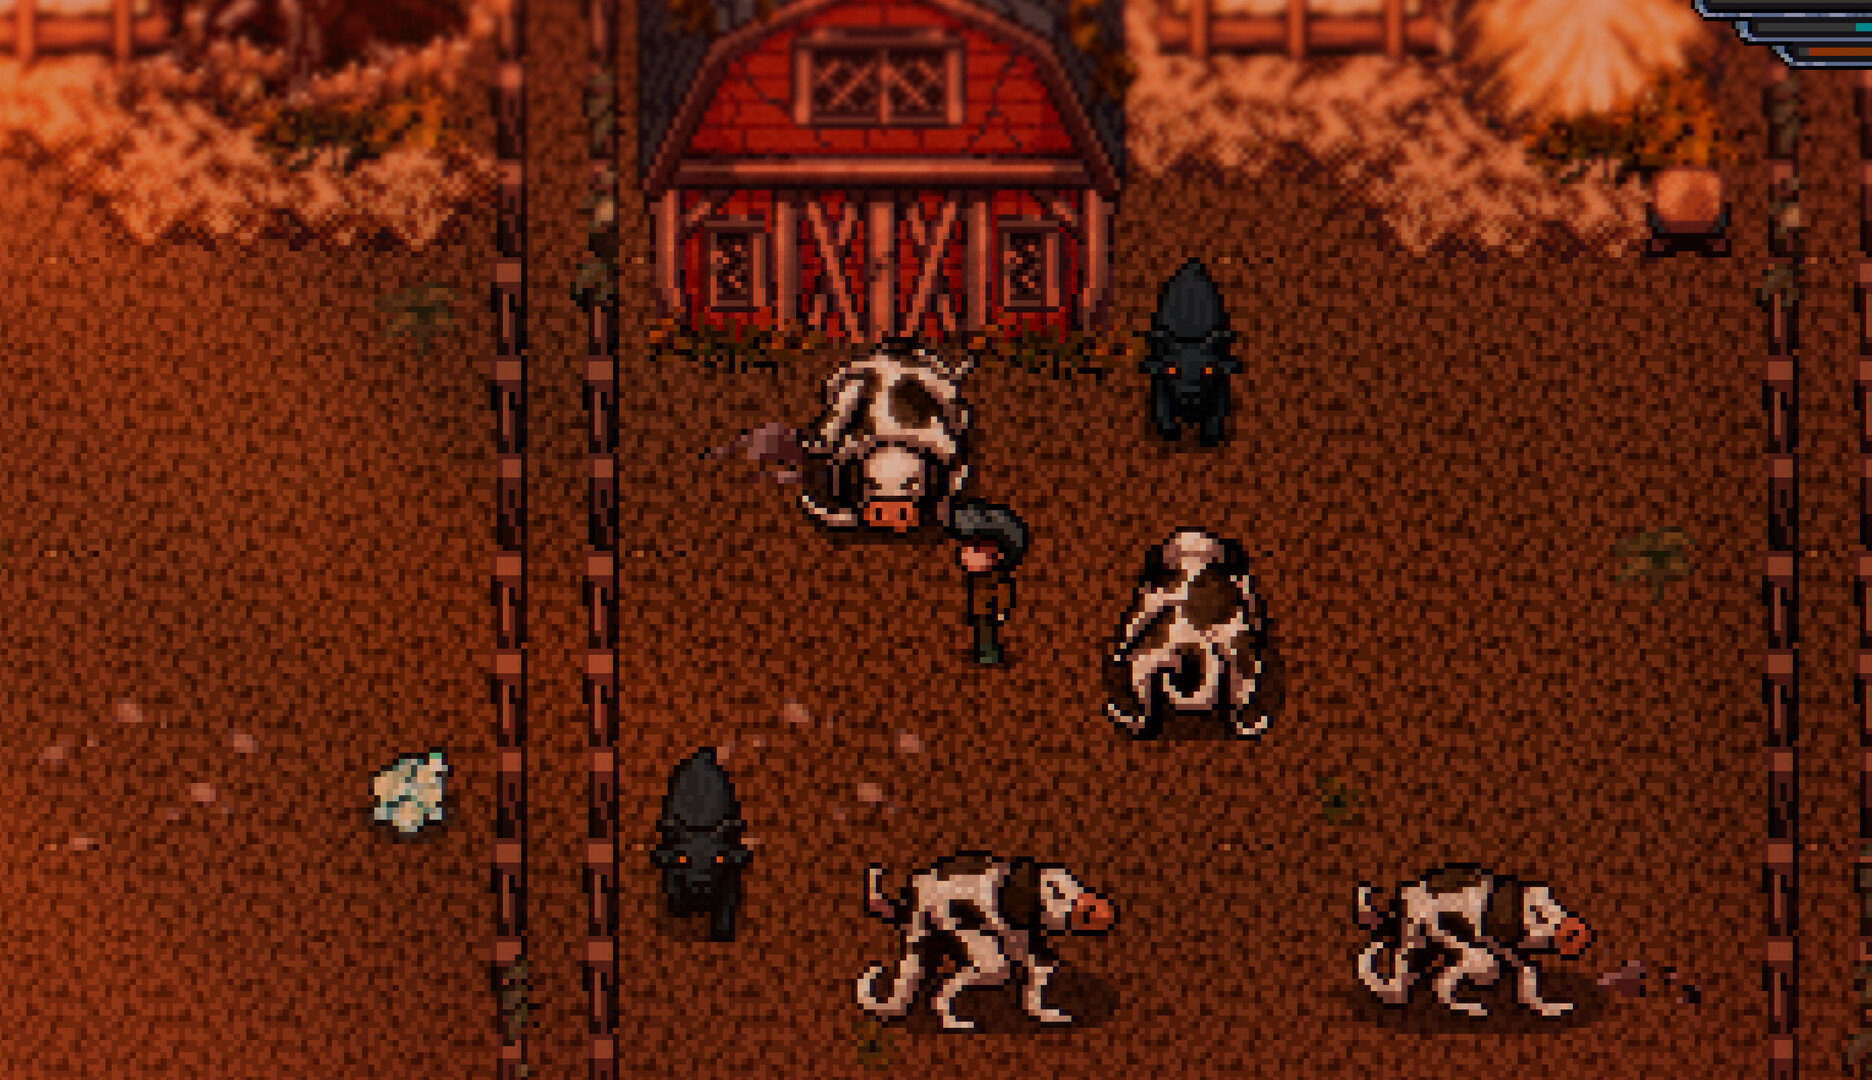
The community husbandry reference describes a deliberately strange roster, including Giant Crows, Tentacows and Black Goats. These are the names to look for when comparing a guide with the shop. Advice about ordinary chickens or a generic dairy cow can be misleading if it silently imports another game's mechanics. This article uses the documented ranch loop and adds planning advice. Current animal descriptions should decide exact purchase prices, maturity periods and production intervals, especially when a reference was written during the long demo period.
| Before purchasing | Check |
|---|---|
| Shelter | The building supports the selected species. |
| Food | Feed covers the wait before production as well as daily care. |
| Collection | You own the species' required tool. |
| Output | Raw product, cooking or processing has a current purpose. |
Build first, then visit the animal merchant
Klaus handles ranch construction. Once a ranch building has been constructed, Henrietta arrives to run the Ranch Shop, where animals, feed, tools and blueprints are available. If you are looking for an animal shop before that step, buying random supplies elsewhere will not make it appear. Check the ranch construction options and the associated progression rather than assuming the merchant has a hidden daily route you need to chase.
Choose a building by the products you want and the animals it supports. A coop and a barn are not interchangeable purchases. Read the animal's required building and any collection tool before confirming the order. If your immediate goal is a milk-based recipe, include the Milk Bucket and processing access in the plan, not just the price of the animal. If you mainly want to learn the feeding loop with less equipment management, compare the egg-producing option. Neither choice is universally best; the better first purchase is the one whose whole chain you can afford to use.
Before building, also check where the structure can go and whether the chosen field remains easy to enter. Leave a clear approach to the trough and enough visible ground to identify products. A building placed for appearance alone can make every later collection less comfortable. Walk the proposed route once before committing, and keep frequently used objects away from the point where you expect animals and their products to overlap.
Make the trough the first ranch interaction
The husbandry reference ties feeding to the trough before midnight. Put the required Animal Feed there for the animals you own; carrying a stack in your inventory does not establish that the animals have been fed. Visit the trough before you become distracted by collecting products or petting. This makes it easier to catch a shortfall while you still have time to obtain or process more feed. When expanding the herd, update the amount you expect to need rather than continuing the smaller group's old habit.
Keep some feed in reserve if your routine includes long trips. The reserve should be based on how many animals you actually have and how often you can replenish it, not an arbitrary large stockpile. Trough capacity and available feed are different problems: an upgraded trough is convenient only when you have enough feed to put into it. If you repeatedly run short, postpone another animal purchase and improve the supply first. A smaller, reliably fed ranch gives more useful information about production than a larger one with frequent missed feeding.
Turn a feed shortage into a production question
The Feedmaker accepts two documented early inputs. One Raw Hay becomes one Animal Feed in one hour; one Weeds becomes one Animal Feed in four hours. Neither conversion uses Coal. If the trough needs feed tonight, check the clock before choosing the slower weed batch. If it is early and weeds are already on hand, that longer process can run while you attend the crops or visit town. These are alternatives for making the same output, not ingredients that must be combined. Once the batch finishes, collect the Animal Feed and place it in the trough; leaving it at the machine or in your bag does not complete the feeding step.
Treat the Feedmaker as a processor, not ordinary crafting. Carry its accepted input, meet the displayed batch requirement and allow time for completion. The developer's storage explanation is especially helpful here: processors expect the input in inventory even when their fuel can be accessed from storage. If the machine will not start, verify the ingredient and its location before buying another machine. Once a small batch works, decide when to load the next one so collection fits your normal route. Avoid converting every gathered plant if some already has a known recipe or task use.
Use daily care to improve a small herd
The community husbandry page links animal friendship with product size and quality. Feeding and petting contribute to that relationship; its description does not support a requirement to repeatedly interact all day. Make a single clear care pass through the group and move on to the rest of your plans. This is more reliable than trying to remember which animal you approached while carrying out several unrelated chores in the same area.
Read current animal feedback and the species description when output changes. A lower result is not automatically proof that you missed a click, and a larger result is not a guaranteed daily rate you can use forever in a profit calculation. Friendship, feeding, maturity and conditions are separate considerations. The reference also associates adverse weather with reduced happiness, so do not diagnose every interruption solely from the feed stock. Keep the care routine stable for several cycles. That gives you a fair basis for deciding whether another animal or a processing upgrade is the next useful investment.
Budget for the wait before production
A newly purchased animal may need time to mature before its normal production begins. Do not spend the last of your money on an animal while assuming it will immediately pay for tomorrow's feed. Read the current growth information and cover the interval before the first expected product. The same caution applies to a species that produces on a different rhythm from the one you already own. A day without output can be normal rather than evidence that the purchase failed.
When choosing between animals, compare the entire cycle. Consider purchase cost, feed during the wait, the collection tool, the usual product interval and the output's destination. An animal with a more expensive product can still take longer to support the next purchase. An inexpensive entry into the system can be valuable because it lets you learn trough management without committing all your cash. There is no need to assign a universal winner from incomplete demo price tables. Use the information shown in your shop and ask which option supplies something your current farm or kitchen can use.
Carry the correct collection tool
Milk-producing animals require the relevant bucket interaction. If an animal appears ready but you cannot collect anything, check that the Milk Bucket is with you and that you are selecting the intended animal. In a crowded field, a nearby object or another animal can make repeated clicks misleading. Give the interaction some space and use the control prompt shown in your version. A product on the ground and an animal waiting to be milked are different collection situations.
Keep the tools needed by your current herd easy to identify in the departure routine. You do not need to carry every possible ranch item on a mining trip, but you do need to finish the ranch work before storing a required tool elsewhere. After collecting, look at the product name and quality. Separate anything required by an accepted task or a near-term recipe before selling or processing the rest. This avoids a second waiting cycle caused by automatically converting the only raw milk or egg that a particular objective actually wanted.
Decide between raw sale, cooking and processing
Eggs and milk can be useful without becoming immediate sale goods. Current processor references connect eggs with Mayonnaise and milk with Cheese through the Food Processor. A finished product may then belong to a recipe or another production chain. Check that destination before processing the entire day's output. If a meal accepts the raw ingredient, converting every unit can leave you with a more valuable-looking stack that does not satisfy the recipe you meant to cook.
Try one batch and compare its result with the raw product's current value. Include machine time and any other costs shown in the interface. If you need money today, a slower chain may be inconvenient even when its final product sells for more. If you need expedition food, the cooking use can outweigh the sale price. Give the herd an explicit purpose: daily ingredients, a particular processed product or income. You can change that purpose later, but it is easier to make good selling decisions when each day's output is not being judged from scratch.
Expand after the supply and collection routes work
Community ranch documentation describes several fields with room for multiple animals and separately upgradeable troughs. Treat those figures as capacity, not a target you must fill immediately. Expand only when the existing group is fed, collected and used without causing repeated interruptions. If the feed machine already struggles to keep up, another animal increases the shortage. If products are accumulating because you have not unlocked the intended recipe, another building does not solve that gate.
A useful expansion test is to imagine tomorrow with the new group already present. Can you provide feed before midnight, collect with the tools you own and process or use the products without displacing something more urgent? Does the purchase leave money for other farm supplies? If the answer is no, make the supporting improvement first. Trough upgrades can reduce refill inconvenience, while another processor can help only when inputs are truly waiting. Choose the change that addresses the observed limit rather than building the largest structure simply because it has appeared in Klaus's shop.
Understand a missing product before buying replacements
The community animal descriptions include feeding, maturity and weather conditions. Check these when a familiar animal does not produce. Confirm that the trough was supplied in time, that the animal is old enough, and that its normal interval says output should be ready. Then consider the weather and any feedback shown by the game. This sequence is more useful than repeatedly clicking the animal or assuming the save has become corrupted after one quiet morning.
Do not use an online claim of a fixed output per real-world minute or server tick to diagnose Elderfield. The official game is single-player, and the documented ranch loop is tied to in-game care and production. A claim using unrelated online farming terminology should be treated with caution unless it comes with verifiable evidence for this game. If a problem persists across expected production cycles with the requirements met, record the animal, building, feed state and build version. Those details make a useful bug report; a vague statement that the barn stopped working does not.
Let the ranch support exploration
The point of a dependable ranch is that it provides ingredients while the rest of the game remains available. Put trough inspection, care and collection on the same short morning route as your crop work. Load any relevant machine before leaving, then take the food and equipment for the day's destination. Avoid returning several times solely because you have no clear collection plan. The normal production cycle does not require you to watch the animals continuously.
On a day dedicated to construction or cooking, process accumulated products and adjust feed reserves. On a long exploration day, do essential care and use supplies prepared earlier. If this feels impossible with the current herd, stop expanding and simplify the crop workload for a while. Farming and husbandry are complementary systems, but both can compete for your attention when scaled too quickly. A modest ranch that consistently supplies meals can support far more interesting play than a full set of fields that leaves you performing chores throughout the session.
Review the purchase after several cycles
Once the first animal has produced for a while, review the actual result. How often did you buy feed, how much product did you use, and which part of care felt inconvenient? This is a better basis for the next purchase than a highest-profit ranking built from unverified prices. If you enjoyed the routine and used the output, expansion may make sense. If the product has no destination yet, develop the kitchen or processor chain before buying more of the same animal.
Keep the three decisions separate: which species you want, how many you can support, and what to do with their output. A change in one does not force a change in all three. You can keep a small herd while improving product use, or retain the same buildings while making feed production more convenient. Elderfield's animals are strange enough without turning every purchase into a speculative spreadsheet exercise. Build the required shelter, supply the trough, learn the collection rhythm and let a real need for eggs, milk or their products determine the next step.
Sources & further reading
Mechanics are compared across cited sources; older-build differences are stated in the articles.