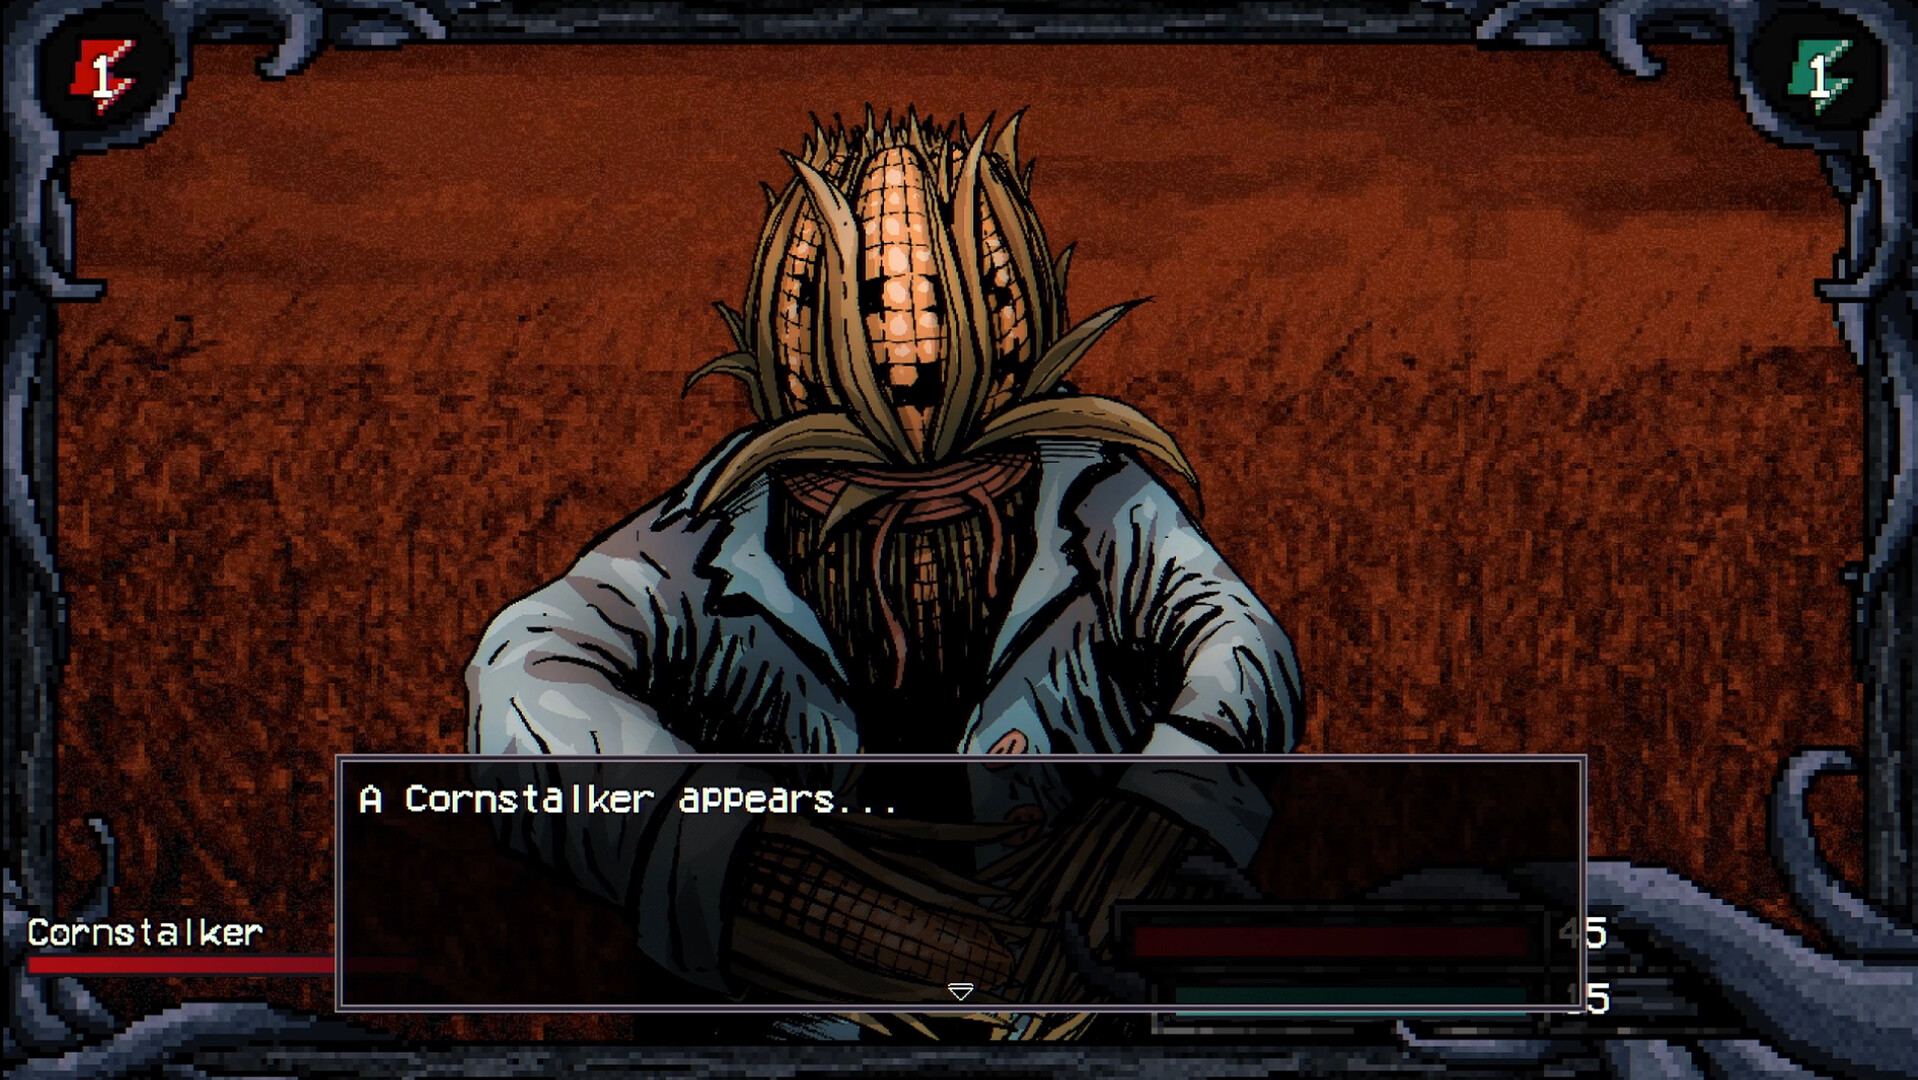
What is actually known about the Cornstalker
The community Cornstalker entry identifies it with the farm and associates it with Light and a Darkness weakness. The wider enemy index agrees on that elemental pairing. Its numerical tables do not fully agree with the individual page, however, and the individual entry was last indexed well before release. This guide therefore does not present a fixed health value or a guaranteed turn sequence. Use the current enemy display and your installed build when deciding how much damage is required.
That distinction matters in play. A guide can correctly identify the creature while still giving the wrong numbers for the variant you meet. The same portrait may appear in a later or more dangerous context. If you arrive expecting a quick victory based on an older table, you can spend your opening actions badly and leave too little room to recover. Treat the first encounter with an unfamiliar variant as a new battle until its actual pressure is clear.
The practical preparation is straightforward: bring a reliable ordinary attack, enough recovery for observation, and a Darkness option if your current equipment or abilities provide one. Do not weaken the entire loadout merely to force an elemental match from an unsuitable item. Compare the result in the actual battle. Elemental information is a useful starting point, while accuracy, survival, action availability, and resource cost still determine whether the plan works.
| Cornstalker claim | Evidence status | How to use it |
|---|---|---|
| Farm association | Agrees across consulted community entries | Check the actual area and variant. |
| Light association and Darkness weakness | Agrees across consulted community entries | Consider a suitable Darkness option. |
| Exact health and statistics | Entries conflict across versions | Read the current display; no fixed health claim. |
| Release-build move script | Not established by consulted sources | Observe the log and protect recovery opportunities. |
Identify the encounter before using a strategy
Look at where you met the creature, its displayed name or variant information, and the circumstances that led to combat. A monster encountered during ordinary farm activity may not match one described in a later area. The regional encounter reference explicitly groups multiple versions of enemies, which is why a name alone is insufficient. Take the location seriously when comparing your experience with a guide or another player's report.
Read your own state as well. A curse, equipment change, or depleted resource pool can make the same enemy feel dramatically stronger. Before assuming that the monster was buffed, inspect the factors that changed since your previous fight. Did you trade defense for damage? Did you begin with less health? Are you using a different action or weapon element? These questions can explain the result without inventing hidden scaling or an undocumented patch change.
If you want to compare attempts, keep the conditions simple. Use the same ordinary attack and note whether it misses, how much pressure follows, and which effects appear. A comparison with different equipment, buffs, and targets is difficult to interpret. You are not trying to prove every statistic. You are trying to learn enough to choose the next action and decide whether the current preparation can support the encounter reliably.
Test an elemental option without betting the run
An elemental weakness is most useful when the matching option is already practical for your build. Check whether the action you intend to use actually deals that element. A weapon's element and a ritual's element are not automatically the same thing, and historical updates changed how some skills inherit weapon damage. Read the present description. If the wording is unclear, use the combat log and a safe test before treating the interaction as established.
Compare ordinary outcomes, not only the largest hit. A Darkness option that occasionally deals a large number but misses or drains magic quickly may not be the best way to finish every phase of the fight. You might use it when the advantage matters and switch to a cheaper reliable action when the target is nearly defeated. The aim is to convert the elemental information into fewer dangerous enemy turns, rather than simply display the correct color or damage label.
Do not publish or repeat an exact weakness multiplier unless you have a current source for it. The visible result can be influenced by attack strength, defense, buffs, and random variation. For your own decision, it is enough to observe that one suitable action performs noticeably better under comparable conditions. Keep that conclusion narrow. It supports using the option in this encounter; it does not establish a universal numerical formula for the game's entire combat system.
Learn the enemy's pressure pattern
Watch what the enemy does after your opening action. Does it deal direct damage, apply an effect, prepare something, or change the battle in another way? Read the log when several events occur together. A threatening animation does not always tell you which statistic or effect caused the danger. The log can distinguish a strong ordinary hit from a weaker hit followed by another source of damage or a harmful status.
Observe one complete sequence before calling it a pattern. A single attack may be one of several possible actions. If you survive comfortably, note whether the following turn repeats it or changes behavior. If the pressure is already unsafe, prioritize recovery rather than continuing the experiment. Useful observation has a limit: learning one more detail is not worth throwing away a run when you can return with better preparation and investigate under safer conditions.
For the Cornstalker specifically, the available sources do not support a detailed release-build move script. Avoid advice that invents a fixed enrage threshold or a guaranteed vulnerable turn. Use the general sequence above to learn the encounter on your build. If you see a clear preparation message, respond to that message and check the resulting action. The evidence on your screen is more useful than a confident but unsupported boss routine copied from an unrelated guide.
Decide when defense is the productive action
When the next incoming action threatens your survival, compare a defensive command with immediate recovery. The answer depends on the resources and effects available. Guarding can be sensible against an expected heavy hit, while healing can be necessary when even reduced damage would be fatal. Read the current command descriptions and look at how many attackers remain. A defense choice that works against one enemy may not cover the pressure from a group.
If your equipment generates useful combat points through defense, that can improve the value of the turn. It remains a property of the equipped item, not a universal reward for every guarded action. Check the description and counter. Do not wait for a random defensive recovery when a guaranteed item is required to survive. A bonus effect can make the following turn easier, but the baseline plan should remain safe when the bonus does not appear.
After defending, ask what improved. Did you preserve enough health to attack safely? Did you buy time for an effect? Did you gain an opportunity to remove an enemy? If the answer is nothing and the situation continues deteriorating, the plan needs a change. Defense should create a useful next step. Repeating it indefinitely can hide an equipment or supply problem without making the encounter more winnable.
Handle groups differently from lone creatures
When the Cornstalker or another familiar enemy appears alongside additional attackers, reassess target priority. The total danger comes from the group, not just the creature you recognize. Removing a weaker companion can reduce incoming actions and make the main opponent manageable. Conversely, a dangerous effect from another enemy may deserve immediate attention. Observe which target is actually creating the problem instead of following a portrait-based priority list.
Read whether your weapon or ritual can affect more than one target. Random splash effects can help reduce the group, but you should not assume they will hit the exact enemy that needs finishing. Plan reliable single-target damage around the most important removal, then use any bonus result to improve the position. This keeps the battle from depending on a lucky distribution of damage across several opponents.
Recovery also changes in groups. Healing enough to survive one enemy action may be insufficient when several attackers remain. Look at the combined recent damage and leave room for uncertainty. If every turn is spent recovering, concentrate on the action that can reduce the number of attackers or meaningfully disrupt their pressure. A group fight often becomes much easier after the first removal, which gives focused damage a defensive value beyond its number.
Keep loot expectations separate from victory
Defeating an enemy and receiving a particular item are separate outcomes. The encounter reference describes random reward pools, while some wiki entries contain incomplete or conflicting drop information. Do not assume that a missing item means you fought the wrong creature or that the battle failed to count. First check whether the source describes a guaranteed reward, a possible pool, a task-specific result, or an older version of the encounter.
If you need a material, compare all documented acquisition routes before committing to repeated combat. A predictable craft, shop, or task route may be more efficient than waiting for an uncertain drop. If combat is the practical option, measure what each attempt costs in recovery and travel. A creature you can defeat is not necessarily a creature you can farm efficiently. Improve the route before turning an expensive victory into a repeated activity.
Use a clear stopping rule for optional attempts. You might stop when routine supplies reach the amount needed for a safe return or when another task becomes the better use of the session. The rule is a personal planning choice, not a claim about drop odds. Without one, an uncertain reward can consume every resource you intended to use elsewhere, especially when a guide's confident wording has made the item feel overdue.
Turn a defeat into a specific adjustment
After losing, identify the earliest decision that made the battle unstable. Perhaps you spent magic on an attack that barely improved damage. Perhaps you ignored a harmful effect, entered below full readiness, or expected an older variant's health. Name that cause before changing the loadout. A stronger weapon is not the answer to every defeat, and replacing all equipment at once makes it hard to know which change actually helped.
Choose one practical correction for the next attempt. Bring a more reliable recovery item, restore a defensive slot, test the suitable element, or simplify the opening so you can observe the enemy. Then use the same encounter as a comparison if the game state allows it. A controlled second attempt is far more informative than charging back with the same depleted inventory and hoping that a critical hit changes the result.
If the encounter remains far beyond your current capacity, postpone it and develop the supporting systems. Farming, crafting, and ordinary tasks can improve the resources available for combat. The official game description explicitly ties survival to gathered resources and equipment. Returning later is a legitimate progression choice, not evidence that you have misunderstood the genre. A useful guide should help you recognize that choice before repeated attempts become frustrating.
A useful observation record for a repeated encounter
For a repeated Cornstalker encounter, keep the record short enough to use during ordinary play: area, displayed variant, weapon, chosen action, effect applied, and the next enemy response. Include current harmful effects on your character if they could affect the comparison. This is sufficient to distinguish a changed enemy from a changed player state in many practical situations. A long list of unsupported statistics is less useful than a few observations with clear conditions.
If the second attempt produces a different result, look for a visible cause before declaring the earlier observation wrong. A miss, a critical hit, or a triggered equipment property can explain a large difference. If no cause is clear, keep both observations and avoid a precise conclusion. You can still decide whether the action is broadly reliable enough for the fight. Tactical usefulness does not require pretending that a small sample proves the entire damage formula.
When the encounter becomes comfortable, stop testing and use the dependable plan. Further experimentation is optional. The purpose of observation is to remove a practical obstacle, not to make every farm activity into a research project.
Sources & further reading
Mechanics are compared across cited sources; older-build differences are stated in the articles.